Yesterday i downloaded the CH34x_Install_V1.4 00.09.08.pkg from Wemos and installed the driver. After asking me to reboot – what i did – my system was not booting anymore. :/ I have a Mac Book Pro 2012 with macOS High Sierra 10.13.3 installed.
After a while seeing just the Apple and asking myself, if there ist really no movement in the bar, i started to figure out what was wrong.
As it was quite hard to find the right commands and explanations and as it seems a lot of people had or have the same or a similar issue, i will write about it here.
Thanks to Säschi for helping although it was late.
How to remove a driver (here: CH34x ) from a Mac, using the single user mode.
- Start up your Mac in Single-User Mode by holding down Command-S while starting the Mac. Continue until you see white text on the screen.
- we want to find the .kext files of the driver and than delete them… as we installed the driver with a given .pkg file (CH34x_Install_V1.4 00.09.08.pkg) we have to see find the installed .pkg file at our mac at first. BUT as the installed .pkg file has a different name we have to find the right installed .pkg file at first using the command $ pkgutil –pkgs=“part of the name what we are looking for“ :
pkgutil --pkgs=*ch34xinstall*
(just that you know:pkgutil --pkgsshows every installed .pkg packages…) - as a result you will get something like:
com.wch.ch34xinstall.mykextdir.pkg
juhu – we found it – this is the name of the installed CH34x_Install_V1.4 00.09.08.pkg - now we want to see where is the content of this pkg installed:
pkgutil --files com.wch.ch34xinstall.mykextdir.pkg - as a result you will get something like:
usbserial.kext
usbserial.kext/contents
usbserial.kext/contents/Info.plist
usbserial.kext/contents/MacOS
usbserial.kext/contents/MacOS/usbserial
usbserial.kext/contents/Resources
usbserial.kext/contents/Resources/en.lproj
usbserial.kext/contents/Resources/en.lproj/InfoPlist.strings
usbserial.kext/contents/_CodeSignature
usbserial.kext/contents/_CodeSignature/CodeResources - We have the fucking kext: its usbserial.kext!
- But where is this fucking kext on the Mac:
find / -name "usbserial" - It should be somewhere in the Library/Extensions/ or System/Library/Extentions but as the the delete Command rm is powerful and dangerous we want to be really sure…. so hav a look what the find command gave us back:
- Something like:
/Library/Extensions/usbserial.kext/… bla bla bla
this finde: /Library/StagedExtensions/Library/Extensions/usbserial.kext/… bla bla bla is something in the temp – maybe because the installer wanted us to restart our mac after installing the CH34x_Install_V1.4 00.09.08.pkg - ok – perfect – finally we delete it:
! caution the rm -rf command will delete everything forever… be absolutely sure what you were doing and what you want to delete:
rm -rf /Library/Extensions/usbserial.kext - now we want to see if everything is gone:
find / -name "usbserial"
now you maybe just finde this:
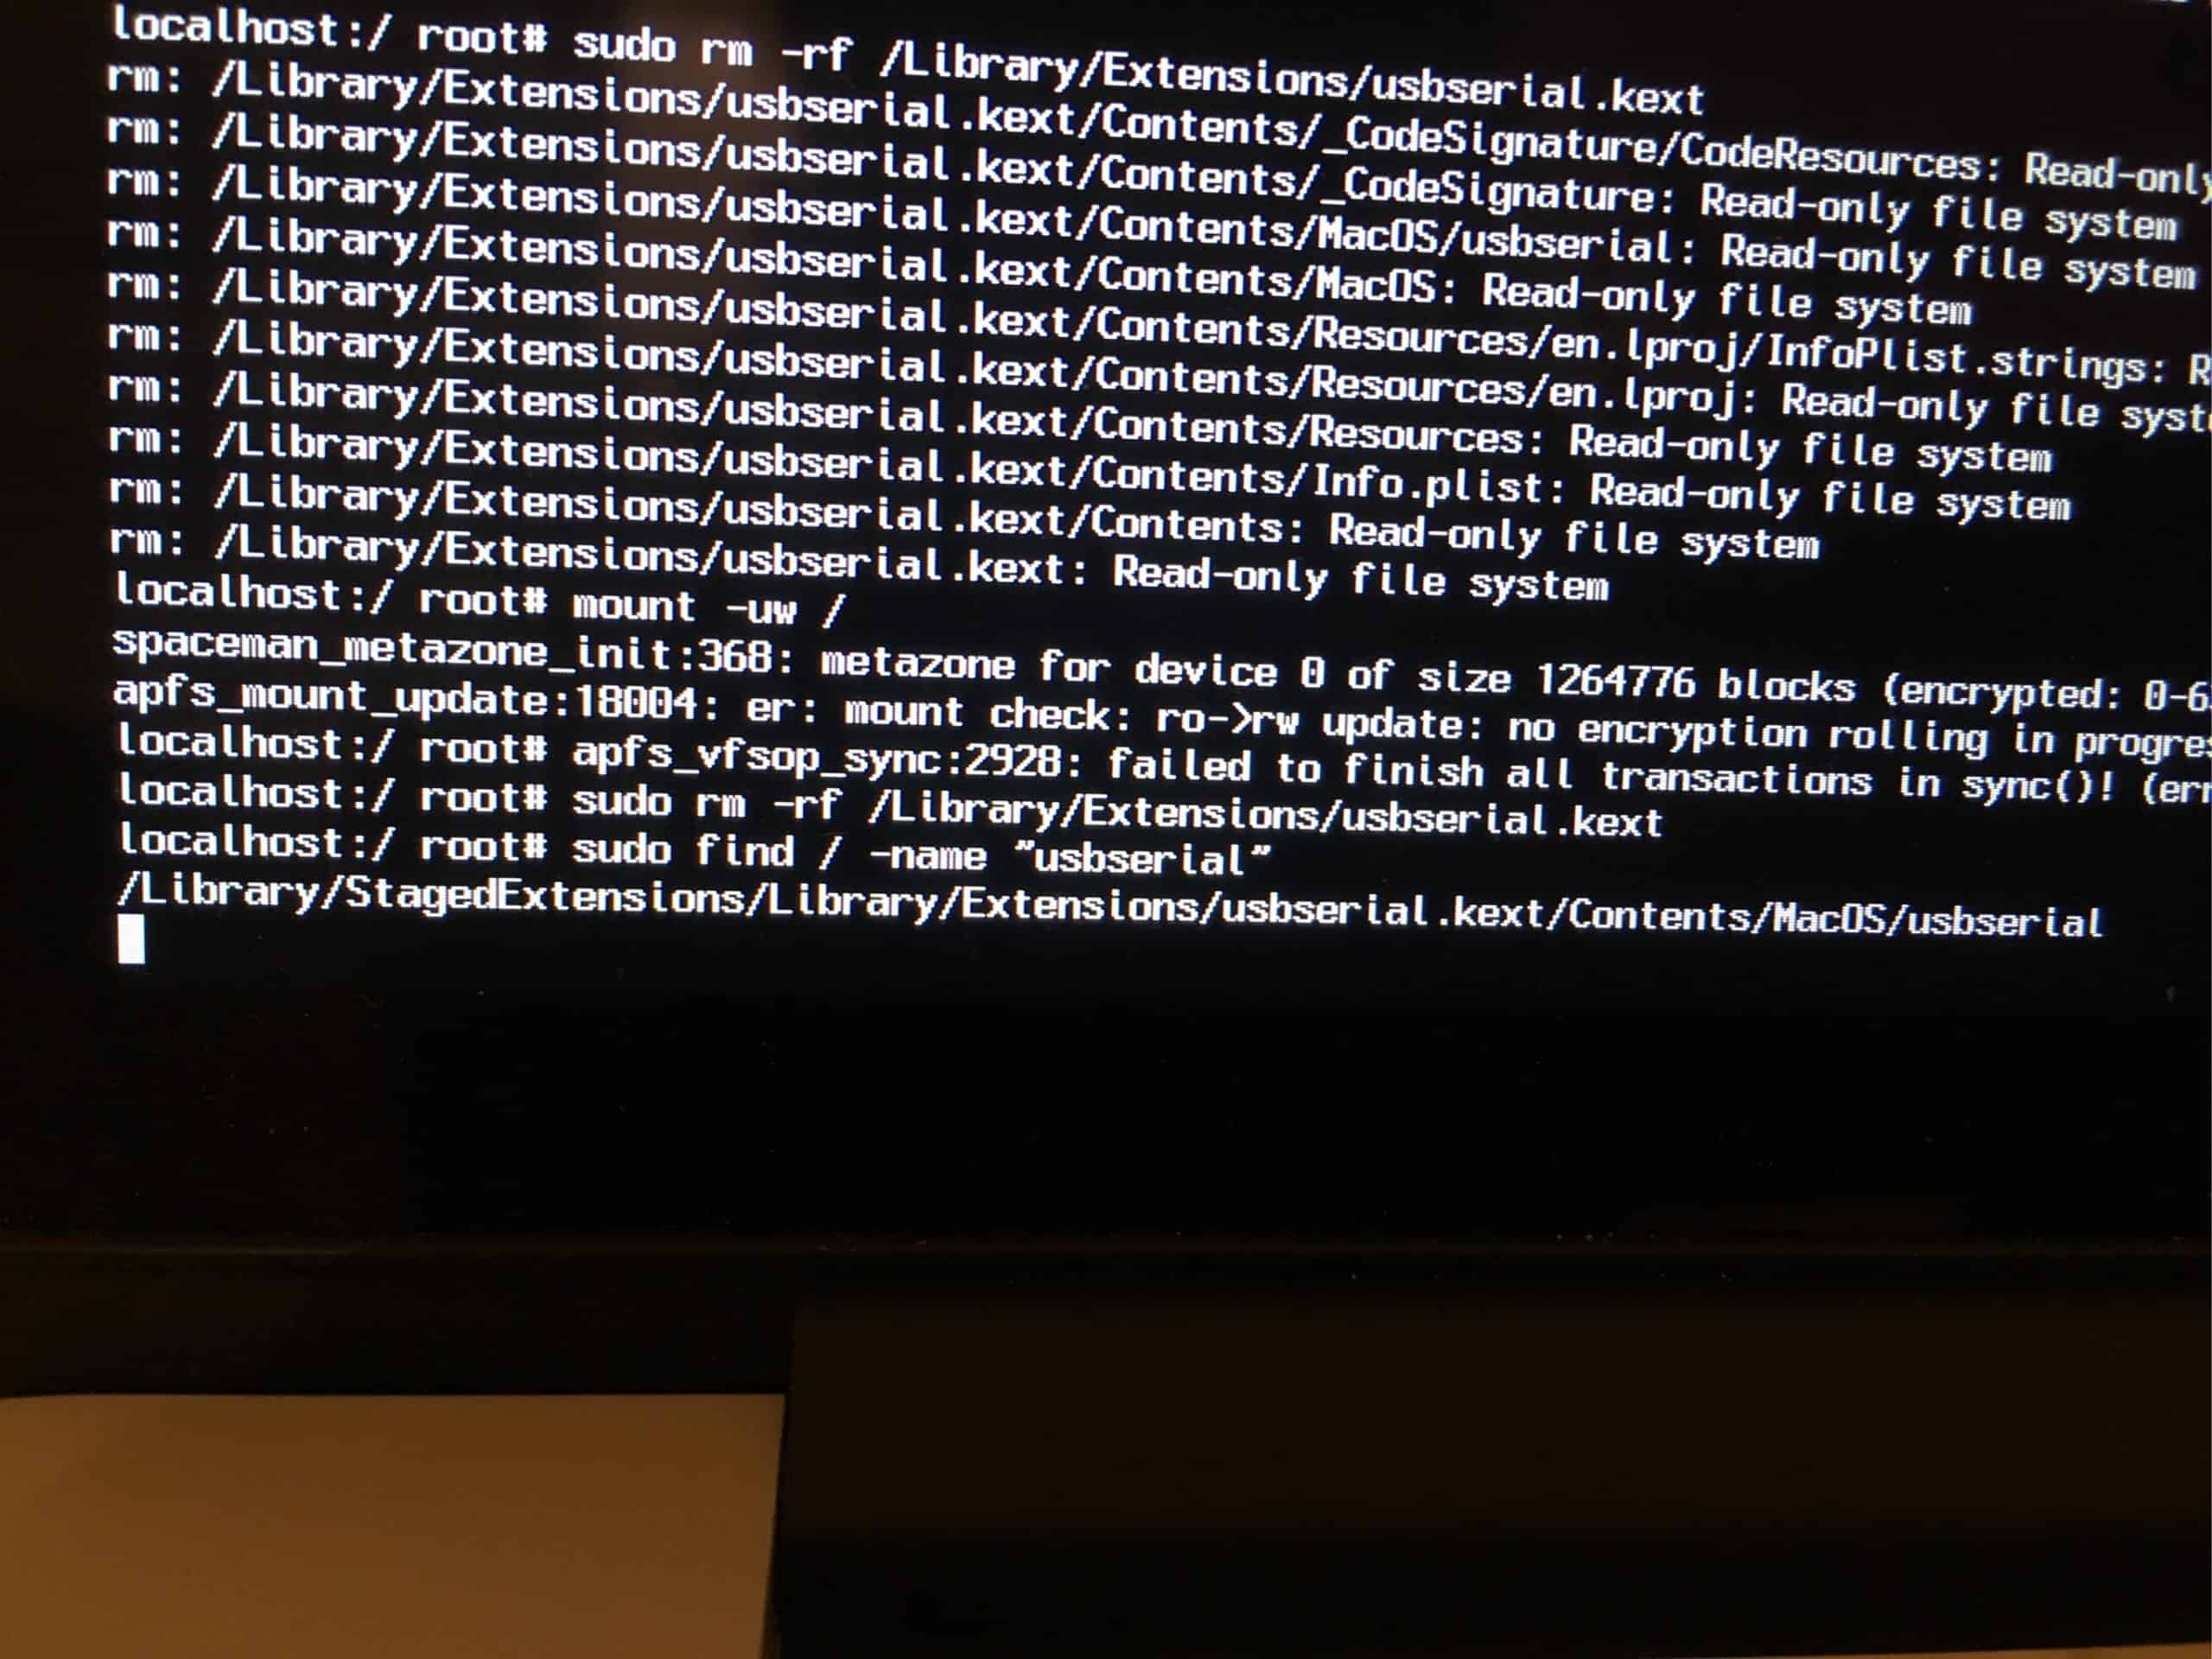
/Library/StagedExtensions/Library/Extensions/usbserial.kext/Contents/MacOS/usbserial
This probably will be gone after a restart. - IF you have problems to delete the file – see TIPP 1 and TIPP 2
- restart your mac – it occurs that while restarting, at the point of loading the usbserial.kext the mac start again – but this time successfully 🙂
Tipp 1: If you can’t delete the kext files – you have to disable the SIP (System Integrity Protection)
- Start your Mac in recovery mode with holding Command + R while booting.
- Utilities -> Terminal
- with:
csrutil statusyou see the status of SIP- with:
csrutil disableyou disable SIP- restart your mac in Single-User mode and try the steps above again…
- after deleting the kext and a successful start of your mac you have to enter the recovery mode again and enable SIP using:
csrutil enable
Tipp 2: If you still can’t delete the kext files and the sudo rm -rf command shows: Read-only file system – you have to mount the disk with writing rights using the command:
mount -uw /
! Do not forget to enable SIP again (Tipp 1 – Stepp 6.) after you where successful !