As a newbe i had a lot of issues while installing everything. So i wrote down my experiences – and that i can remember later 🙂
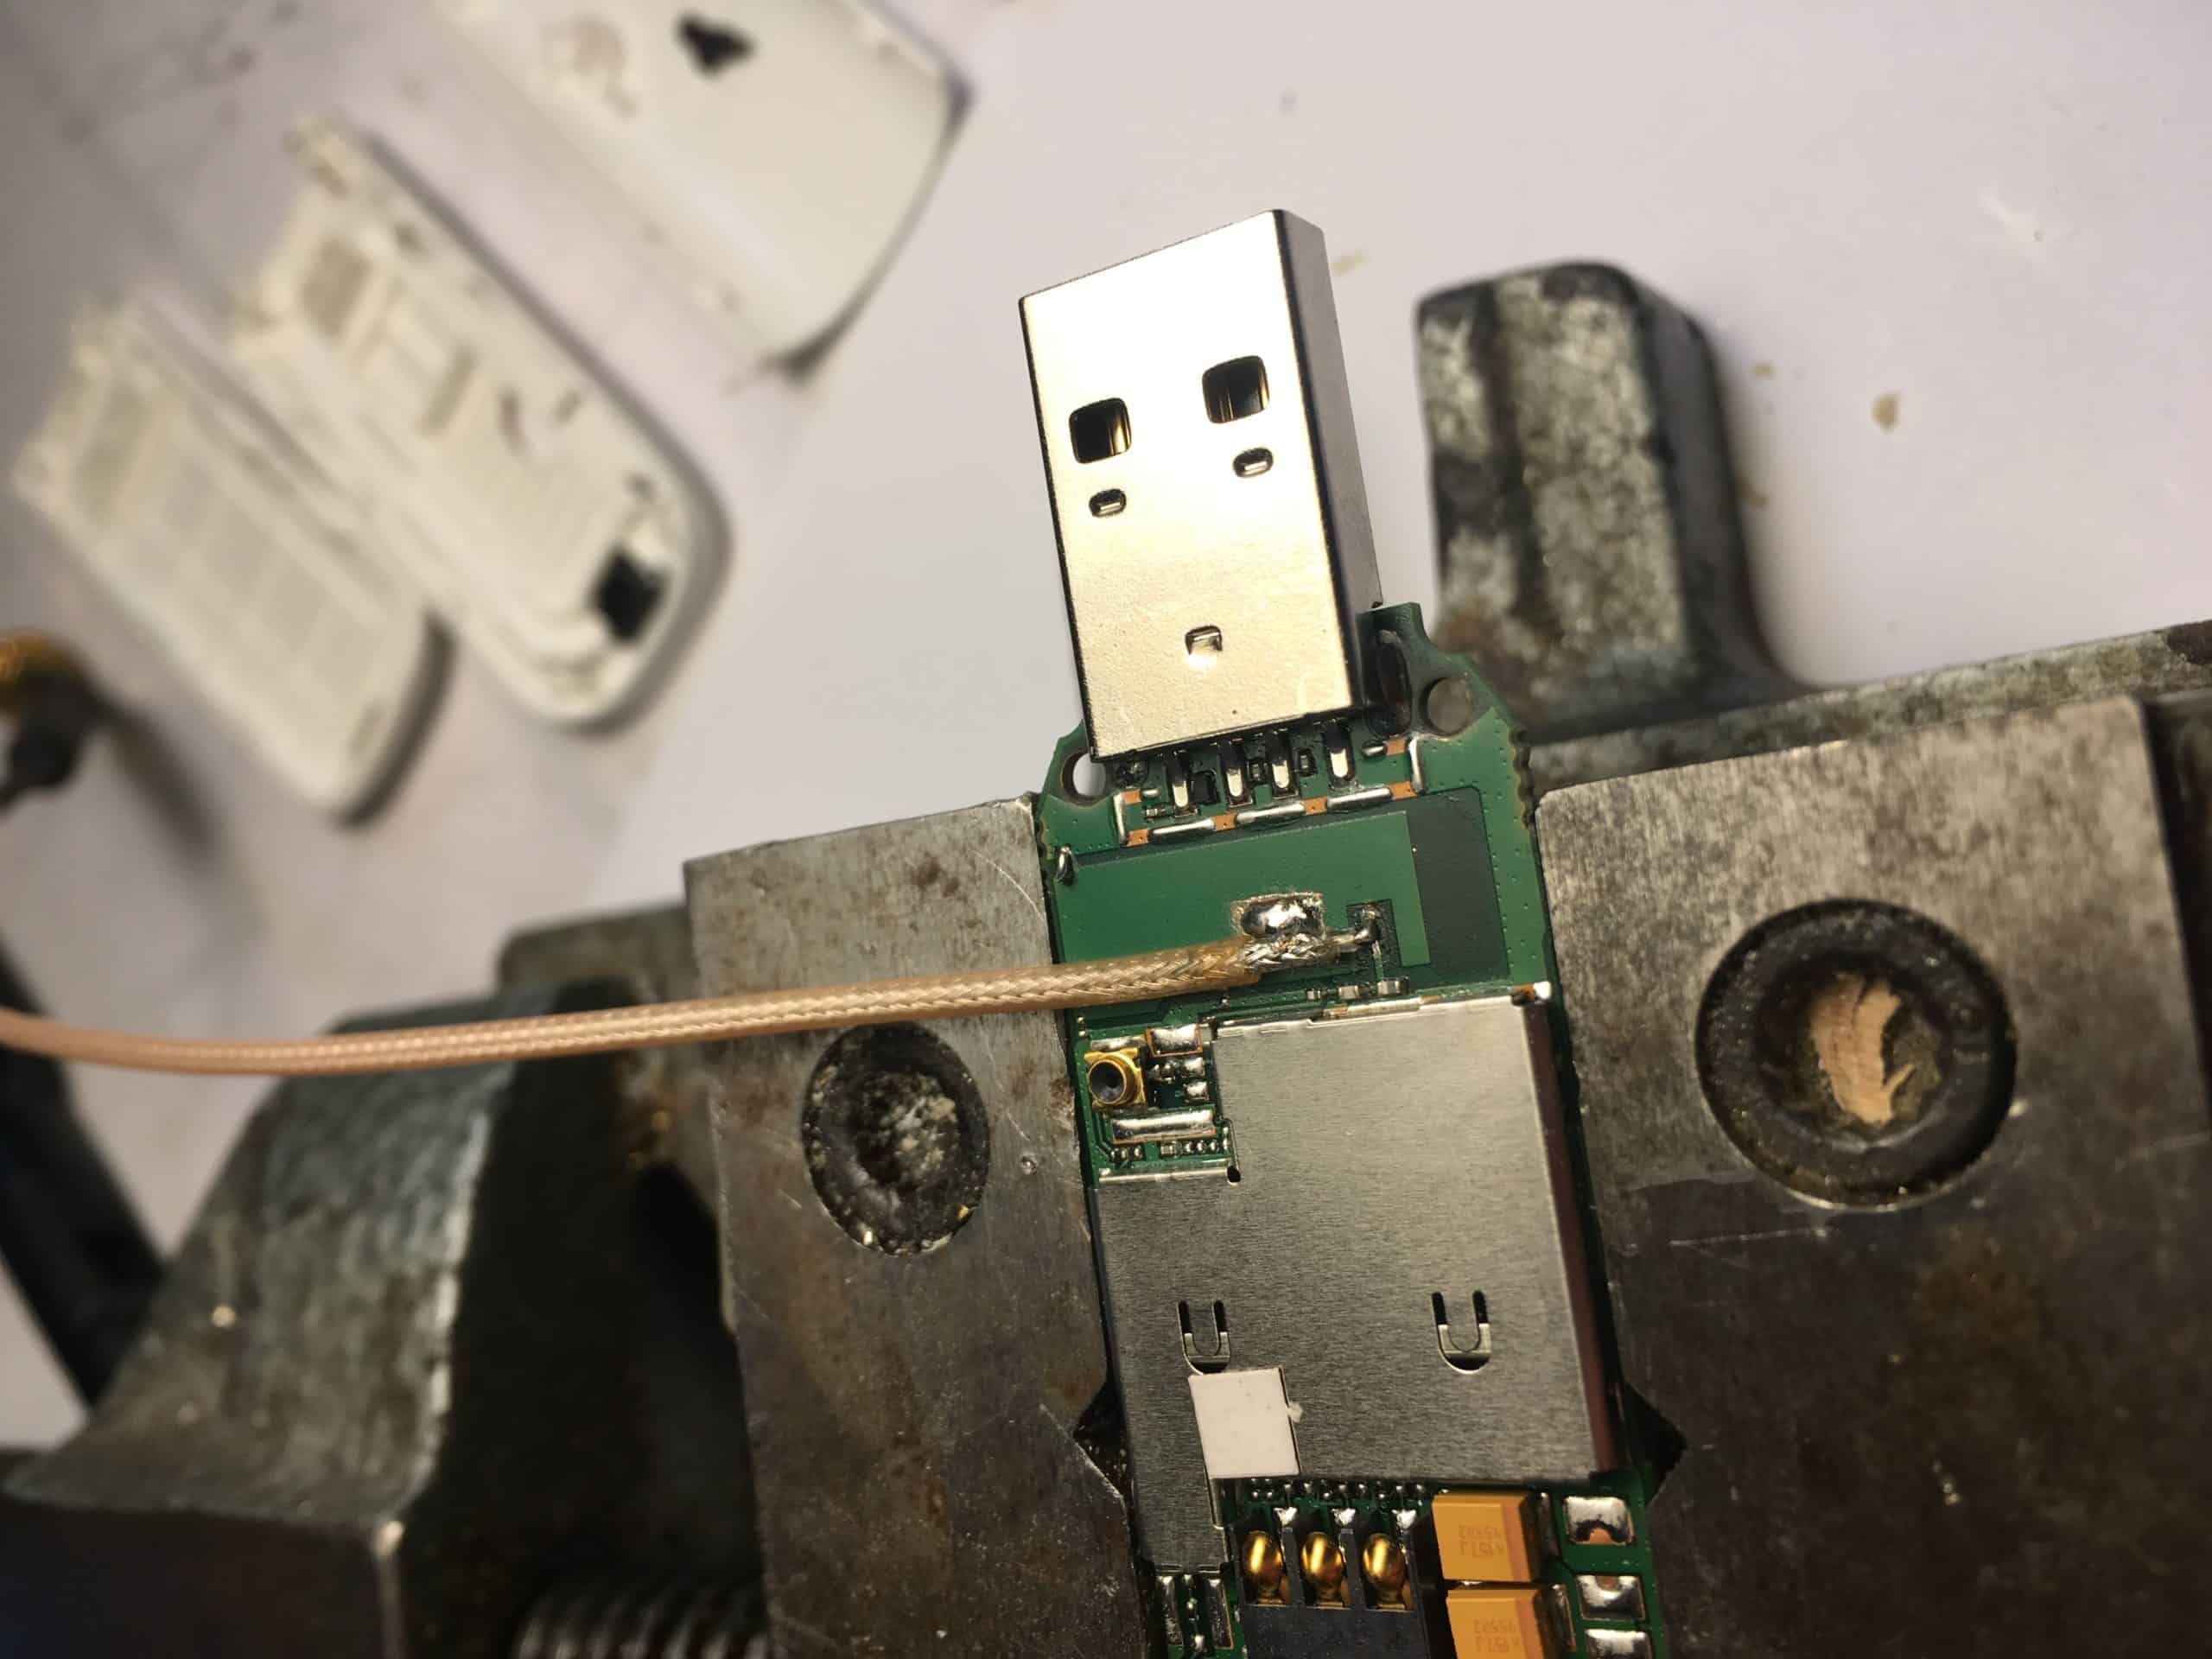
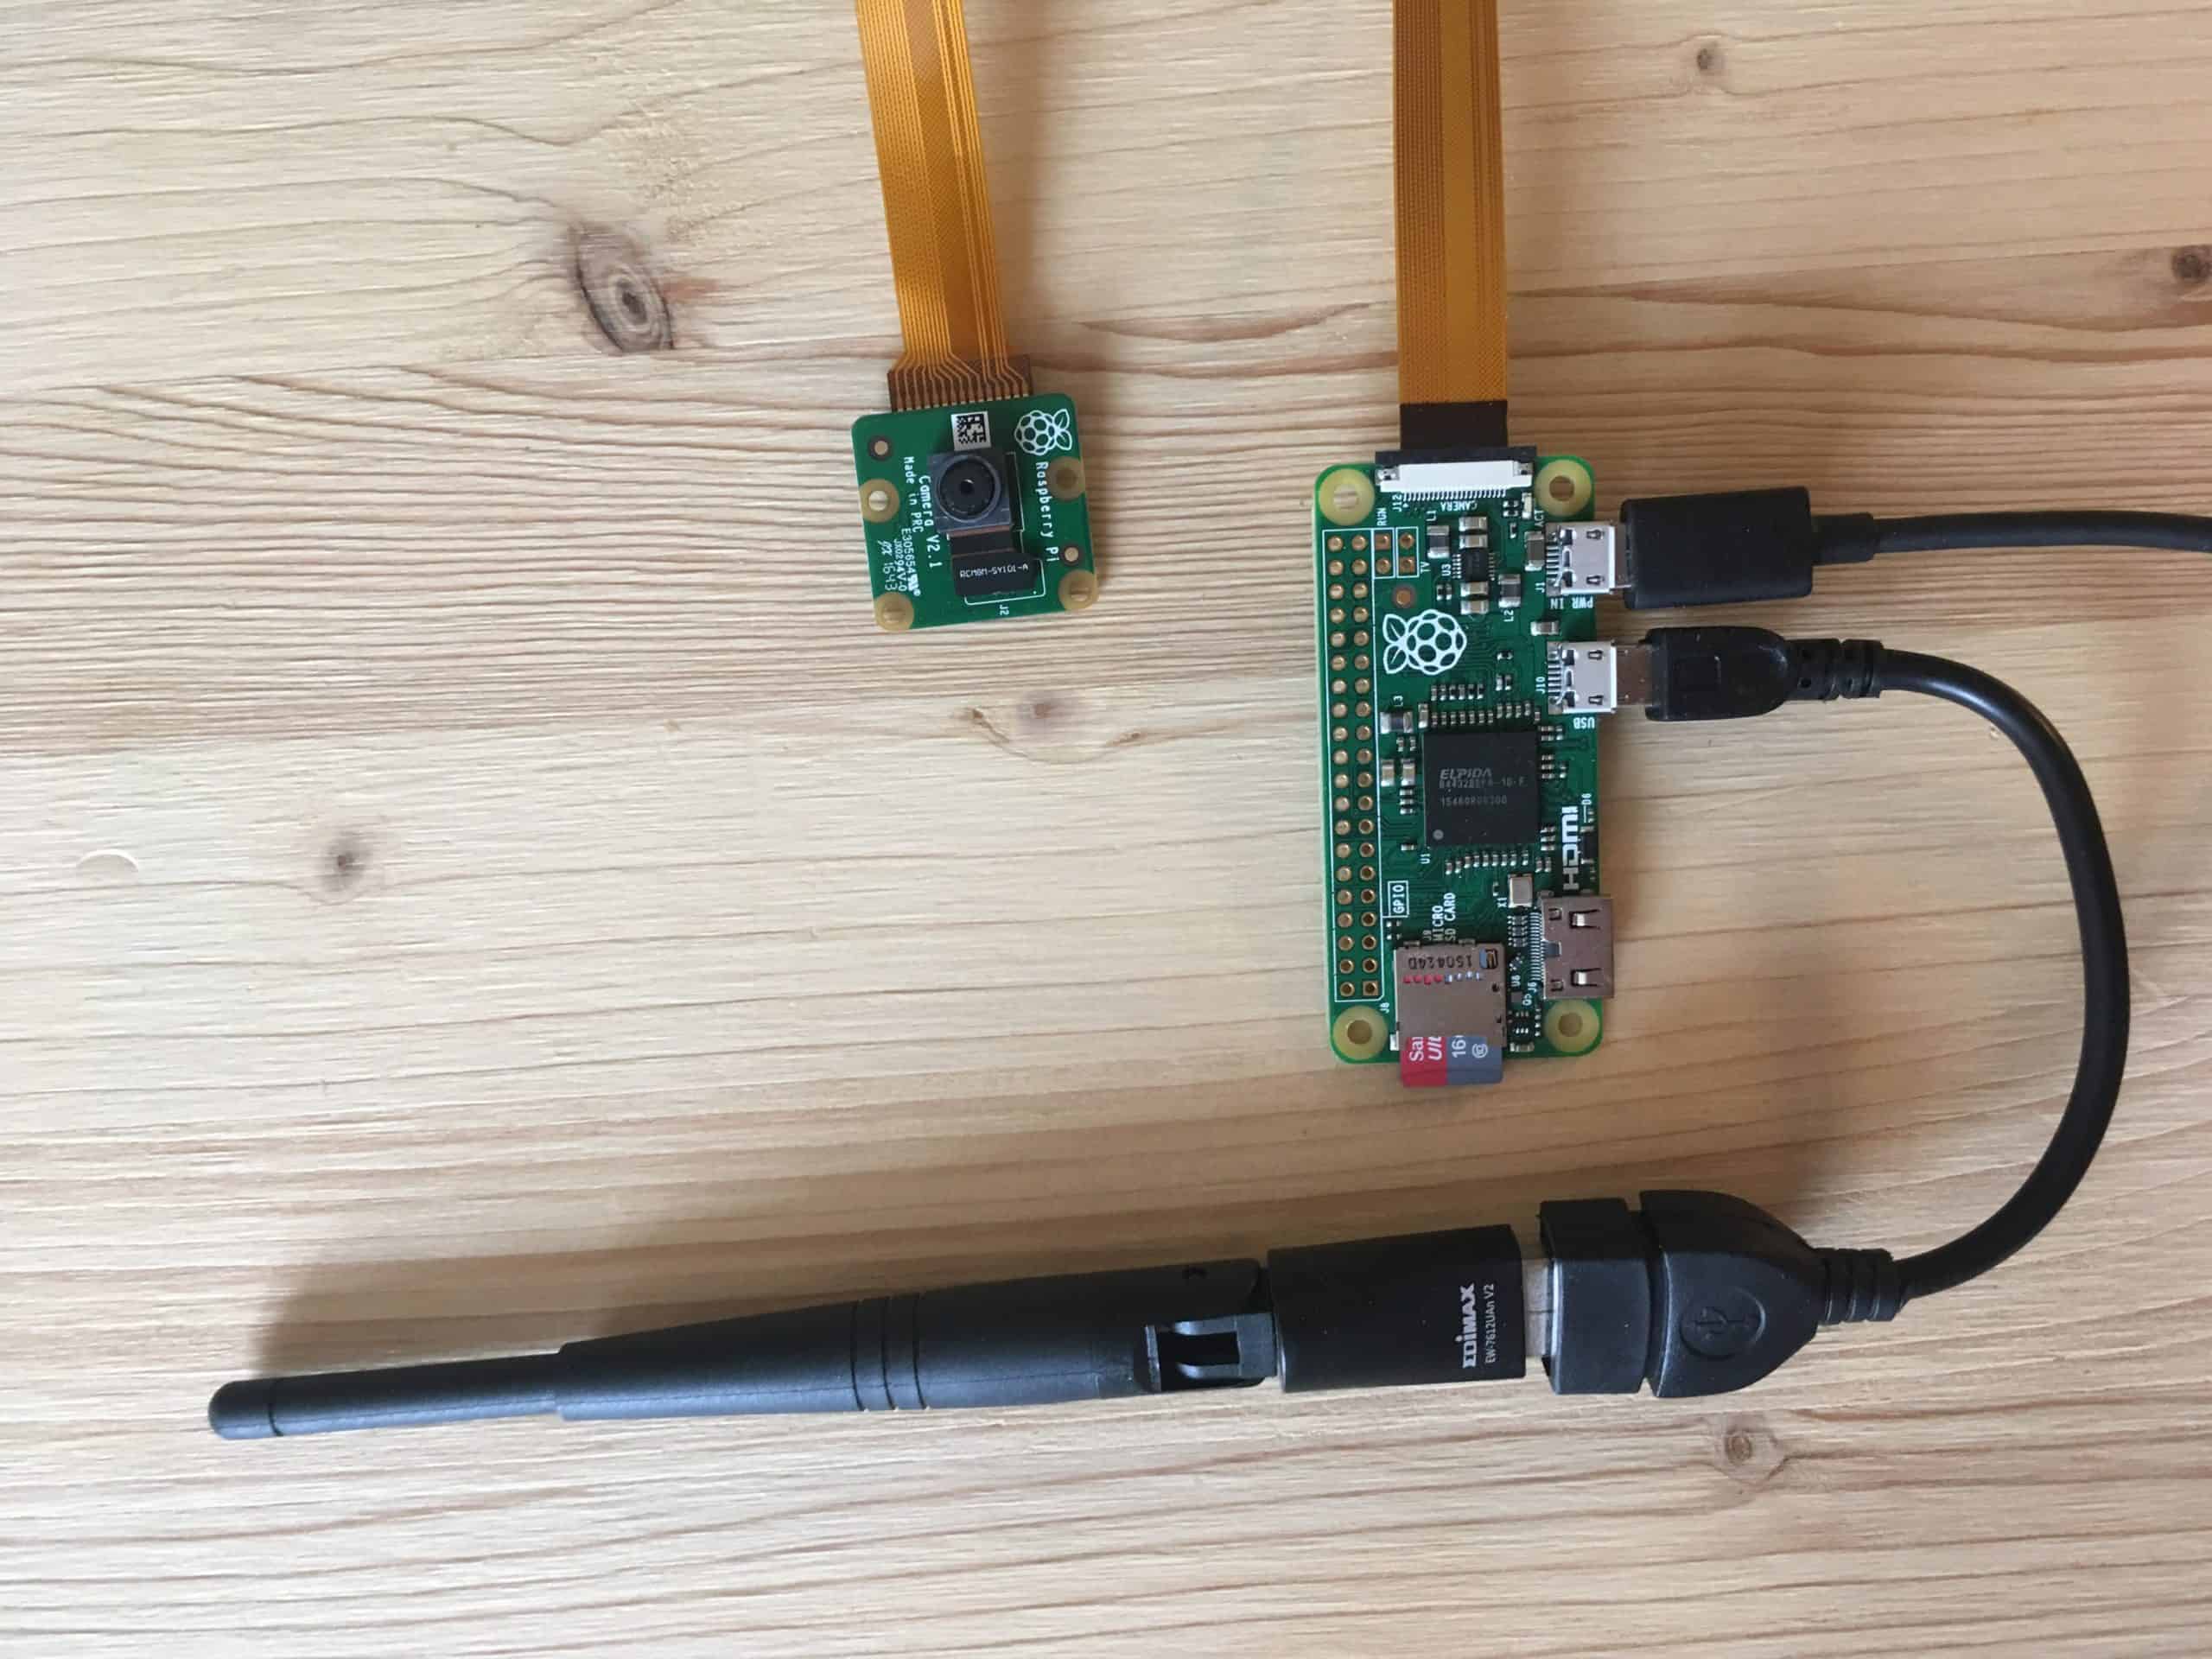
Raspberry Pi Zero with Camera V2 8 and WiFi Stick Edimax (Realtek Chipsatz EW-7811Un Rasp to build a Wireless Cam to watch what is going on in the garden. And make it kinda secure.
- We will use the RPi-Cam-Web-Interface to control the cam and for motion detection.
- We should follow this to make the Pi a bit more secure when exposed to the Internet: change default password, make sudo require a password, unattended-upgrades, install a firewall like ufw and have fail2ban installed.
- The best way – and if you want to have your Pi fully and exposed for the long term you should build up a Reverse Proxy. You could either do this with TWO Pi’s (HowTo) or use on ONE single Pi a Ngnix on Port 443 exposed to the internet doing basic auth and SSL – and proxypass it internal to a apache on a random port (HowTo) doing the RPI-Cam-Web-Interface.
I will prepare a fresh SD card and will use ONE single Pi (Ngnix as a Reverse Proxy for Apache)
Let’s start:
- Write the latest full raspbian image on your SD card.
- Write the file ssh and wpa-supplicant.conf on the boot folder on the SD card.
How you set up the wpa-supplicant.conf in a right way:
Enter:wpa_passphrase "YOURWIFI" "YOURPRESHAREDKEY"
you will get something like:
network{

ssid="YOURWIFI"

#psk="YOURPRESHAREDKEY"

psk=39f574a95df1df0accd19ad73a4de33af0edea0f60636ff86b500c0c32caf5ca

}
Copy this in a wpa-supplicant.conf and put it on the SD card like this:country=DE ctrl_interface=DIR=/var/run/wpa_supplicant GROUP=netdev update_config=1 network{ ssid="YOURWIFI" #psk="YOURPRESHAREDKEY" psk=39f574a95df1df0accd19ad73a4de33af0edea0f60636ff86b500c0c32caf5ca } - login with Terminal ssh pi@raspberrypi.local and change the password with sudo passwd
- remove extra material and update the Pi
sudo apt-get remove --purge wolfram-engine scratch minecraft-pi sonic-pi dillo gpicview oracle-java8-jdk openjdk-7-jre oracle-java7-jdk openjdk-8-jre
sudo apt-get clean
sudo apt-get autoremove
sudo apt-get update
sudo apt-get dist-upgrade - install apache, nginx, and php
sudo apt-get install apache php nginx sudo reboot- run
sudo raspi-configand expand file system, change time zone and enable camera. raspi-config will ask you to reboot. git clone https://github.com/silvanmelchior/RPi_Cam_Web_Interface.git cd RPi_Cam_Web_Interface ./install.sh
A screen will open, where you are asked to make settings. (you can find them later in the config.txt in the RPi_Cam_Web_Interface folder. Changes there have no affect on the running program – but if you would re-install it, what you wrote in the config.txt. you will finde at this install screen from the beginning.)
So set the Port to a Port you know it is not used by anything (8080) and take php 7 as a choice. Enter a password and user and press Enter.- RPi_Cam_Web_Interface should now be visible on your local network.
Enter the IP of the PI 🙂 http://192.168.0.X:8080/html/ - out of the
cd RPi_Cam_Web_Interfacefolder you can start or stop the service by running:./start.shor./stop.sh - All about RPI_Cam_Web_Interface you have to read on their page.
- If something is not right – you should visit the install-interface:
cd RPi_Cam_Web_Interface
./RPi_Cam_Browser_Control_Installer.sh
There you see if apache is running (green) or if the Cam is enabled (green) and so on. You can remove or re-install it from there. - As we will expose the Pi to the great world outside your Lan – it should now made a bit more secure: install fail2ban and the firewall ufw
sudo apt-get install ufw(this allows ssh just from an ip of your lan (subnet))
sudo ufw allow from 192.168.0.0/24 to any port 22
sudo allow https
sudo ufw enablenow install fail2ban:
sudo apt-get install fail2ban

sudo cp /etc/fail2ban/jail.conf /etc/fail2ban/jail.local
sudo nano /etc/fail2ban/jail.local - The next thing is to set up the Reverse Proxy for Apache (HowTo).
- we have to check if the correct ports are used by apache:
sudo nano /etc/apache2/ports.conf
the lines should look like:NameVirtualHost 127.0.0.1:8080 Listen 127.0.0.1:8080
- open up a new virtual host file:
sudo cp /etc/apache2/sites-available/default /etc/apache2/sites-available/example sudo nano /etc/apache2/sites-available/example- the line should look like this: <VirtualHost 127.0.0.1:8080>
Make sure your Document Root is correct. - activate the virtual host:
sudo a2ensite example sudo apt-get install nginx- open up the nginx config:
sudo nano /etc/nginx/sites-available/example - change it to:
server {
 listen 443;
root /var/www/;
 index index.php index.html index.htm;

server_name example.com;

location / {
 try_files $uri $uri/ /index.php;
 }

location ~ \.php$ {

 proxy_set_header X-Real-IP $remote_addr;
 proxy_set_header X-Forwarded-For $remote_addr;
 proxy_set_header Host $host;
 proxy_pass http://127.0.0.1:8080;

}

location ~ /\.ht {
 deny all;
 }
}
This configuration sets up a system where all extensions with a php ending are rerouted to the apache backend which will run on port 8080.
- activate the virtual host:
sudo ln -s /etc/nginx/sites-available/example /etc/nginx/sites-enabled/example - restart both servers:
sudo service apache2 restart
sudo service nginx restart - If you want to check which ports are open and which application is responsible run
sudo netstat -plunt