Als ich mir einen Beamer zulegte, war mir nicht bewusst wie kompliziert es sein würde, Ton von gescheiten Boxen abzuspielen.
Idee:
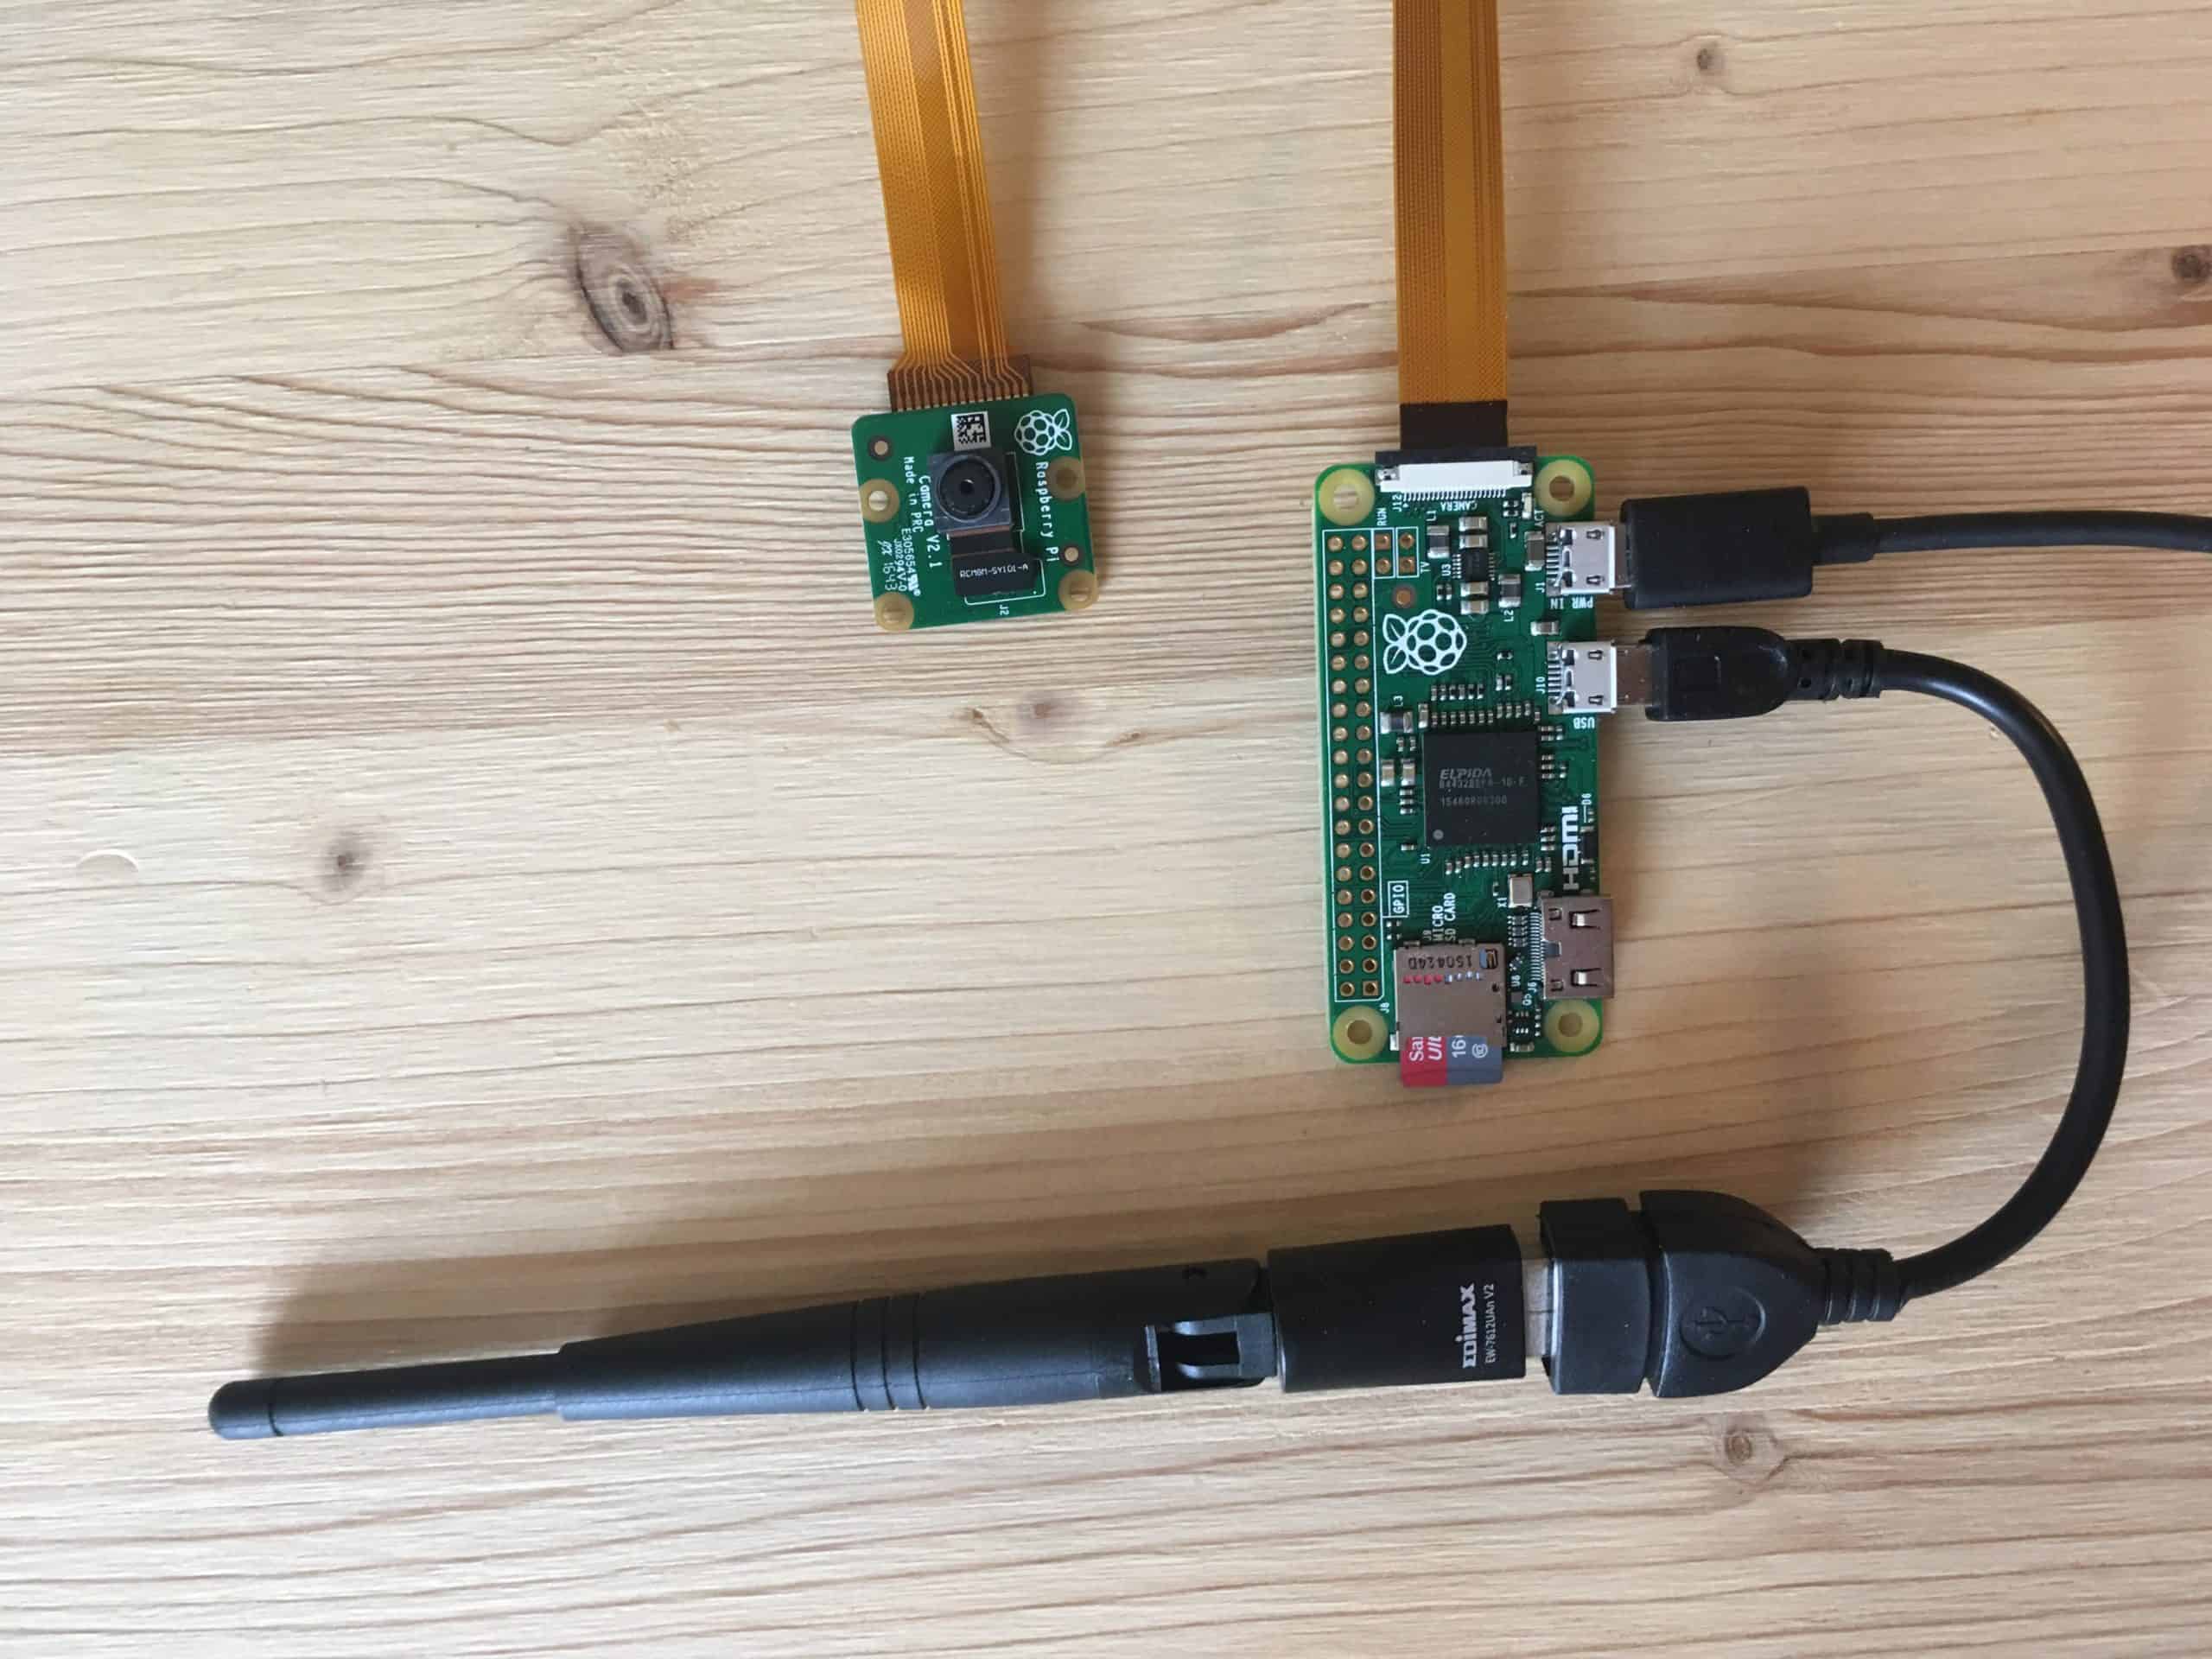
Ton von einem AppleTV 3 (an einem Beamer angeschlossen) über Airplay an einen Raspberry Pi Zero W schicken, der Audio Daten digital über HDMI an eine Samsung Soundbar (HW-K550/EN 3.1) weiter gibt.
Anschlüsse:
Power 5V/2A über Micro USB (OTG)
Power Eingang Raspberry Pi Zero W (More Power)
Wlan Stick an Micro USB (OTG) Daten Eingang Raspberry Pi Zero
HDMI mini auf HDMI
I. Raspberry Pi Headless WiFi Stick Setup:
We use Edimax WLan Stick (Realtek Chipsatz EW-7811Un Rasp) because driver are already installed at Raspbian.
- Download Raspbian here…
- HowTo install Raspbian on a SD (Mac OS) or with Etcher
- Enable HDMI: Place this string into /boot/config.txt:
audio_pwm_mode=2 - There are TWO ways setting up a Pi Headless (SSH):
1. HowTo using thewpa_supplicant.confon the SD Card
2. HowTo with Network over USB
1. Headless setting up SSH using wpa_supplicant.conf (Original)
The method i used didn’t work for a long time – No Network devices found. – till i found the problem: You have to generate an encrypted PSK Key and add this to the wpa_supplicant.conf with wpa_passphrase "YOURWIFI" "YOURPRESHAREDKEY" And / Or you can use the connection via SSH USB (OTG) Network 🙂 (More here and here)
2. Headless setting up SSH connection to Pi Zero W by USB (OTG)
- Follow this.
- Connect the Pi with your Mac (USB – Port on the Pi) and wait 90 sec.
- Now you should see a new RNDIS/Ethernet Gadget connection
Maybe you have to use manual IP like 169.254.64.64 / 255.255.255.0
You should tell your computer to give the RaspberryPi connection to the internet. (Internetfreigabe) - When you connect to the pi the first time with ssh you may get this error:
warning remote host identification has changed mac !
Remove the cached key for the IP address on the local machine:
ssh-keygen -R raspberrypi.local
typ inYES - WiFi: HowTo (and this) Headless connect to WiFi (Edimax Stick EW-7811Un):
open a Terminal:
ssh pi@raspberrypi.local
default user and password:
pi raspberry
update the Pi:
sudo apt-get update
sudo apt-get upgrade
## Setting the network interfaces to dhcp and disable autopower-off
open: sudo nano /etc/network/interfaces paste this in the file:
auto lo
iface lo inet loopback
auto wlan0
iface eth0 inet dhcp
allow-hotplug wlan0
iface wlan0 inet dhcp
wireless-power off
wpa-conf /etc/wpa_supplicant/wpa_supplicant.conf
## Setting the network security. I use the following settings. (FritzBox 4790 WPA2 – PSK and CCMP) (More Info):
Follow this here like here:
wpa_passphrase "YOURWIFI" "YOURPRESHAREDKEY"
you will get:
network={
ssid="YOURWIFI"
#psk="YOURPRESHAREDKEY"
psk=39f574a95df1df0accd19ad73a4de33af0edea0f60636ff86b500c0c32caf5ca
}
write the above on the bottom in:
sudo nano /etc/wpa_supplicant/wpa_supplicant.confReconfigure the interface with
wpa_cli -i wlan0 reconfigure
Disconnect the Pi from your Mac and put it on a USB Power Device.
Try to connect to The Pi. If it works: perfekt. Otherwise you have to find the right network security settings or ask an adult.
iwconfig should give you something like:
wlan0 IEEE 802.11bgn ESSID:"YOURWIFI" Nickname:"<WIFI@REALTEK>"
Mode:Managed Frequency:2.442 GHz Access Point: 34:31:C4:E0:63:93
Bit Rate:150 Mb/s Sensitivity:0/0
Retry:off RTS thr:off Fragment thr:off
Power Management:off
Link Quality=100/100 Signal level=70/100 Noise level=0/100
Rx invalid nwid:0 Rx invalid crypt:0 Rx invalid frag:0
Tx excessive retries:0 Invalid misc:0 Missed beacon:0
lo no wireless extensions.
usb0 no wireless extensions.
II. Preparations for Shairport-sync:
Auto Power-Off and the Edimax WiFi WLan (Realtek Chip)
If you want to prevent the Wifi Edimax to power off automatically, you may have to add something in his driver settings:
lsmod
If we find something like 8192cu in the output we have to modify the driver settings.
Add a new file:
sudo nano /etc/modprobe.d/8192cu.conf
And add in this file:
options 8192cu rtw_power_mgnt=0 rtw_enusbss=0
reboot the Pi:
sudo reboot
AirPlay with Shairport-sync
Shairport is a great way to use your Pi as a AirPlay speaker. (no Video, no Photo)
(Also explained here and here) but the install explanation here works best. (down at Building)
Get the needed libraries:
sudo apt-get install build-essential git xmltoman

sudo apt-get install  autoconf automake libtool libdaemon-dev libpopt-dev libconfig-dev

sudo apt-get install libasound2-dev

sudo apt-get install libpulse-dev

sudo apt-get install avahi-daemon libavahi-client-dev

sudo apt-get install libssl-dev

sudo apt-get install libsoxr-dev
Download Shairport from github:
cd /tmp && git clone https://github.com/mikebrady/shairport-sync.git

&& cd shairport-sync
configurate all:
autoreconf -i -fif you get
autoreconf command not found you may install autoconf again by: sudo apt-get install dh-autoreconf
next:
./configure --sysconfdir=/etc --with-alsa --with-pa --with-avahi --with-ssl=openssl --with-metadata --with-systemd
you have to reinstall and update all missing libraries – should work than 🙂
next:
make
install:
sudo make install
Output should look like this:
Bla Bla Bla
Configure successful. You may now build with 'make'
everything is fin so we can install:
make
sudo make install
change folder and copy scripts:
creating a user named shairport in the group audio:
getent group shairport-sync &>/dev/null || sudo groupadd -r shairport-sync >/dev/null && getent passwd shairport-sync &> /dev/null || sudo useradd -r -M -g shairport-sync -s /usr/bin/nologin -G audio shairport-sync >/dev/null
now we have to change the shairport settings:
sudo nano /etc/shairport-sync.conf
like this:
general =
{
  name = "Front Room";
  password = "secret";
  interpolation = "soxr";
  // ... other general settings
};
register the scripts and reboot:
sudo update-rc.d shairport defaults
sudo reboot
now everything should work fine.
(You may have to say alsamixer that hdmi is used as audio out)