Liebe VOIR Freunde,
gerade habe ich mein neuestes Projekt abgeschlossen und möchte es gleich mit Euch teilen. Schon immer hatte ich den Wunsch noch mehr Präzision beim Espresso kochen zu erreichen. Meine Rancilio Rocky mit einem Timer aus zu rüsten war die einfachste Idee und ich habe es nun erfolgreich umgesetzt.
Dear VORI friends,
just now i finished my newest project an I am happy to share it wit you here in our blog. I always wanted to bring more precision to my espresso workflow. The easiest way was to modify my Rancilio Rocky with a Timer and so i did.
Nach meiner ersten Recherche fand ich ein ein paar Modifikationen bei Youtube aber keines der gezeigten Varianten hat mich so wirklich überzeugt. Mir fehlte der formale Anspruch die Modifikation so durch zu führen dass am Ende die Gestaltung, also das Design, der Rancilio Rocky verbessert wird und nicht leidet. Ihr wisst ja das bei all unseren Projekten nicht nur die Funktion eine maßgebende Rolle spielt sondern auch die Form gleiches Gewicht bei den Überlegungen bekommen soll.
After my first research I found a few modifications on Youtube but none of the shown variants really convinced me. All variants lacked the formal claim to make the Rancilio Rocky more beautiful in the end. You know that in all our projects not only the function plays a decisive role but also the form should receive equal weight in the considerations.
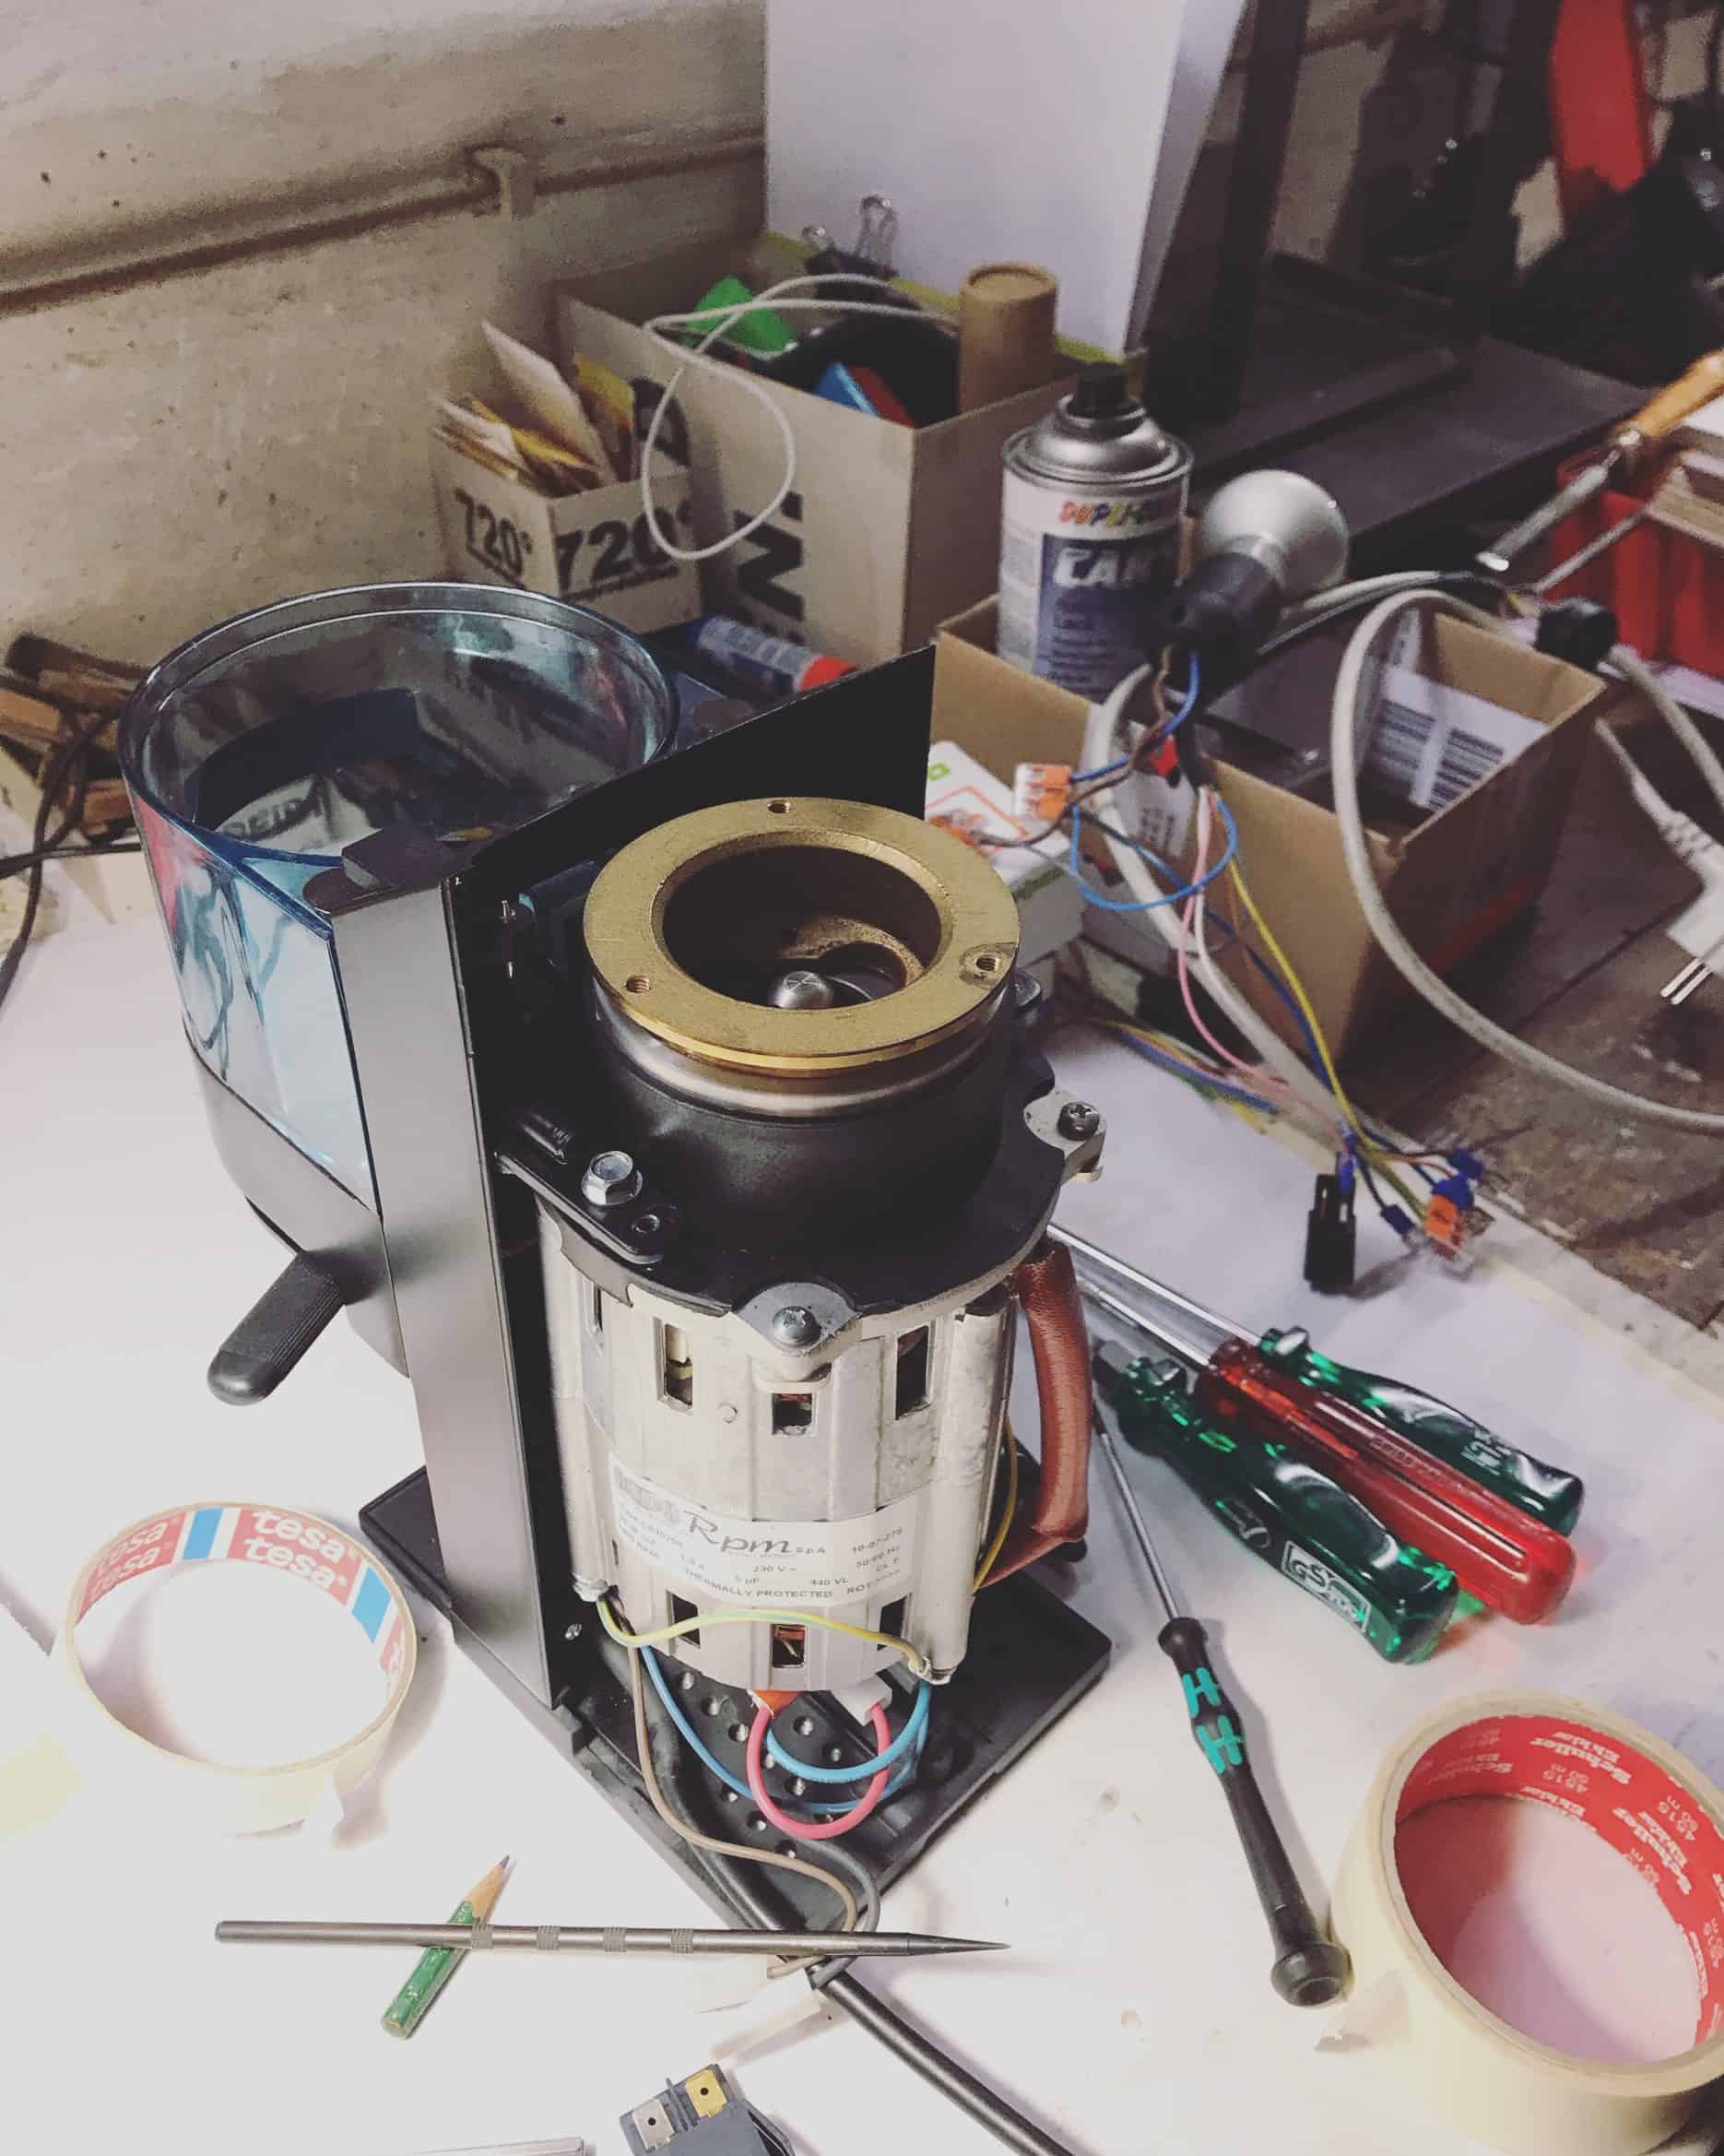
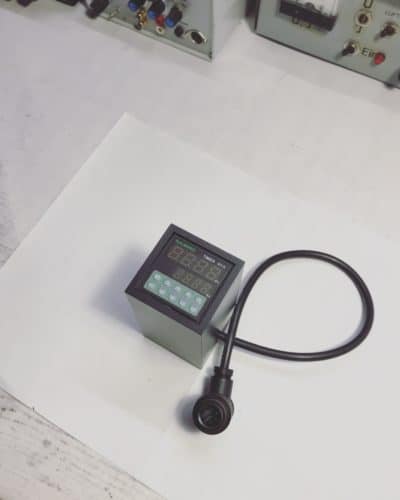
Auf Grund des knapp bemessenen Platzes in der Mühle habe ich mich entschlossen den Timer zu separieren und ein eigenes Gehäuse zu entwerfen und am Ende zu fertigen.
Due to the small space in the housing of the mill, I have decided to separate the timer from the housing and even design their own beautiful housing and manufacture.
Basis für das Gehäuse ist ein Standart Profil aus gezogenem Aluminium ich habe es hier gekauft:
Base for the case is a standard profile made of drawn aluminum I bought it here:
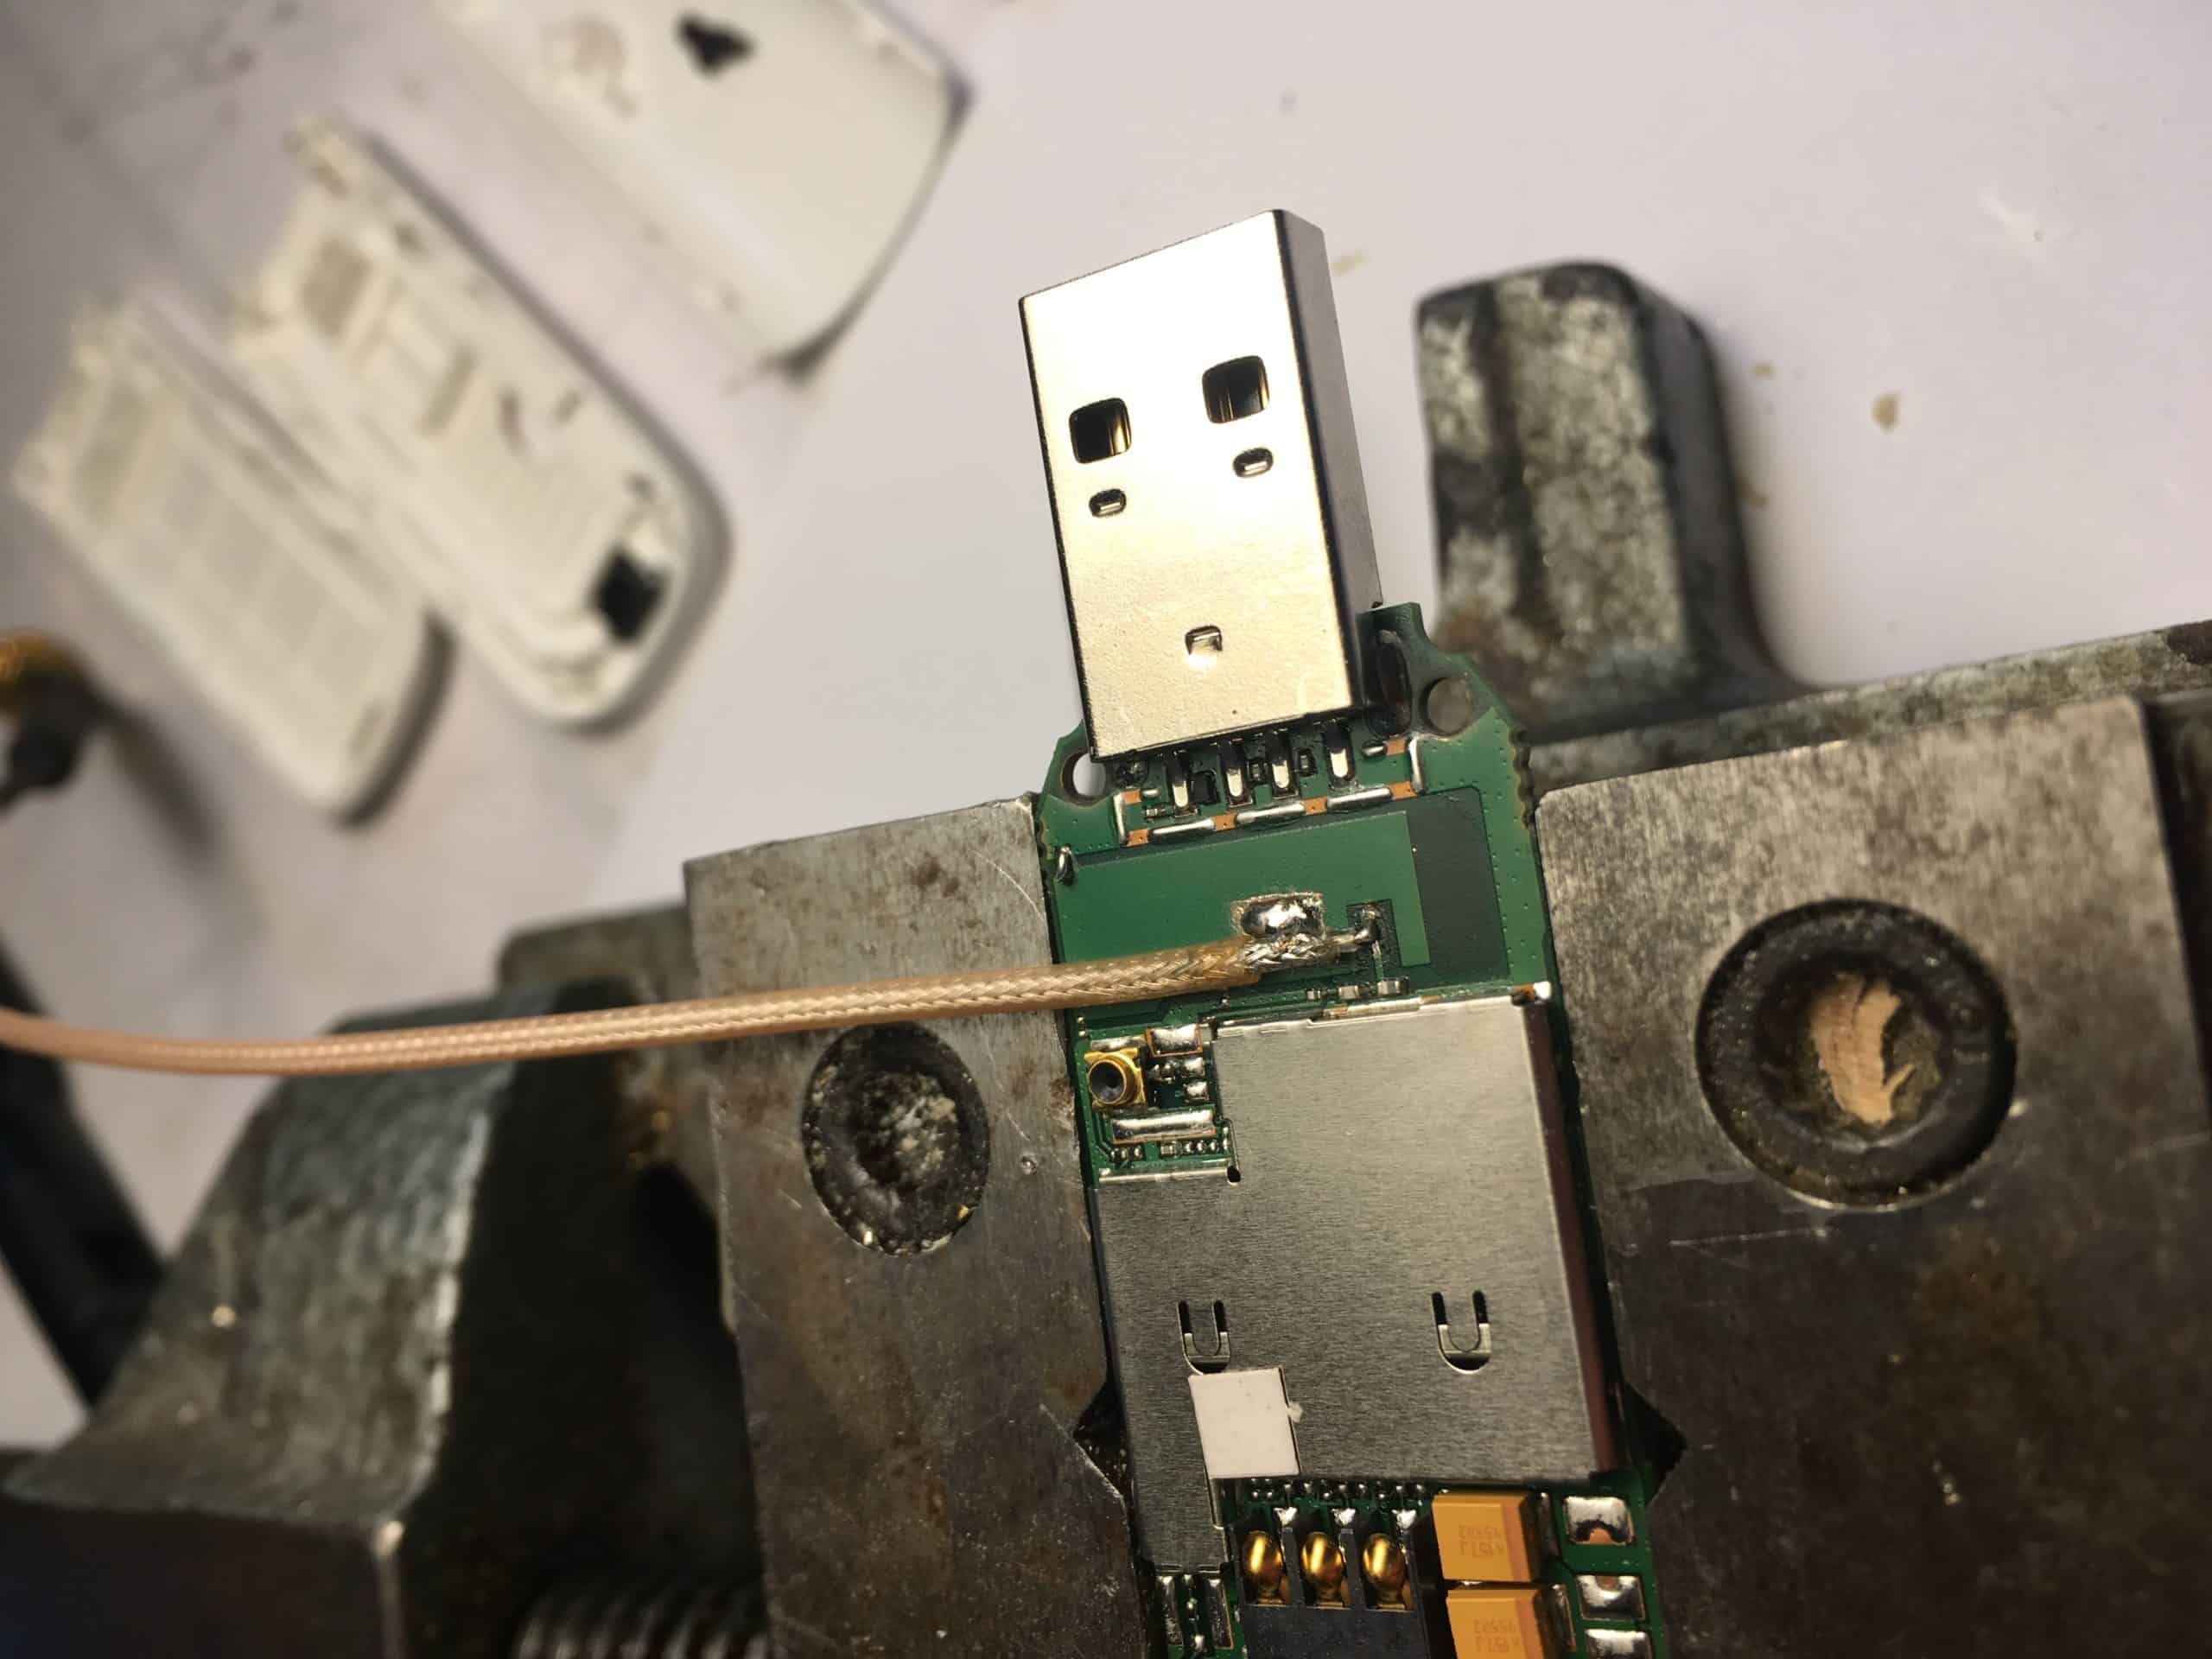
Um die Kabelverbindung herzustellen habe ich mich zusätzlich für einen Stecker entschieden da es is immer von Vorteil ist beide Geräte voneinander trennen zu können. Meine Wahl ist auf einen Stecker von Binder gefallen da diese Firma sehr schöne Stecker konzipiert. Als Kabelverbindung benutzte ich ein für 230V nicht konformes! Mikrofon Kabel ich darf euch dieses Kabel nicht empfehlen aber ein passendes 6 Adrige Kabel für 230V zu finden ist nahezu unmöglich. Hier meine Einkaufsliste:
- Binder 99-4225-70-07 Rundstecker Stecker, gewinkelt Serie
- Binder 09-4228-00-07 Rundstecker Stecker, Einbau Serie (Rundsteckverbinder)
- Ähnlich diesem LAPP 49900200 Mikrofonkabel 7 x 0.50 mm²
To make the cable connection, I have also opted for a plug because it is always advantageous to be able to separate both devices from each other. My choice has fallen on a plug from Binder as this company designed very nice plugs. As a cable connection, I used a 230V non-compliant! Microphone cable I can not recommend this cable but to find a suitable 6 wire cable for 230V is almost impossible. Here is my shopping list:
- Binder 99-4225-70-07 Rundstecker Stecker, gewinkelt Serie
- Binder 09-4228-00-07 Rundstecker Stecker, Einbau Serie (Rundsteckverbinder)
- Ähnlich diesem LAPP 49900200 Mikrofonkabel 7 x 0.50 mm²
Und natürlich der Timer / And of course the timer:
Ich glaube Ihr habt nun eine ganz gute Übersicht über mein Projekt bekommen und ich hoffe ich habe Euch ermutigt meine Modifikation aus zu probieren. Bei Fragen oder Anregungen Kommentiert einfach diesen Blog Beitrag. Viel Spass beim Basteln!
I think you have got a very good overview of my project and I hope I have encouraged you to try out my modification. For questions or comments Just comment on this blog post. Have fun crafting!
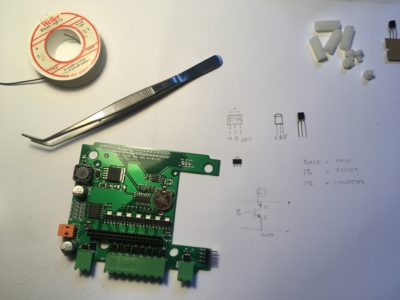
Hier könnt Ihr meinen Schaltplan einsehen und herunter laden / Here you can view and download my wiring plan.

Und nun hier ein paar Bilder von meiner Konstruktion / And here are some pictures of my construction
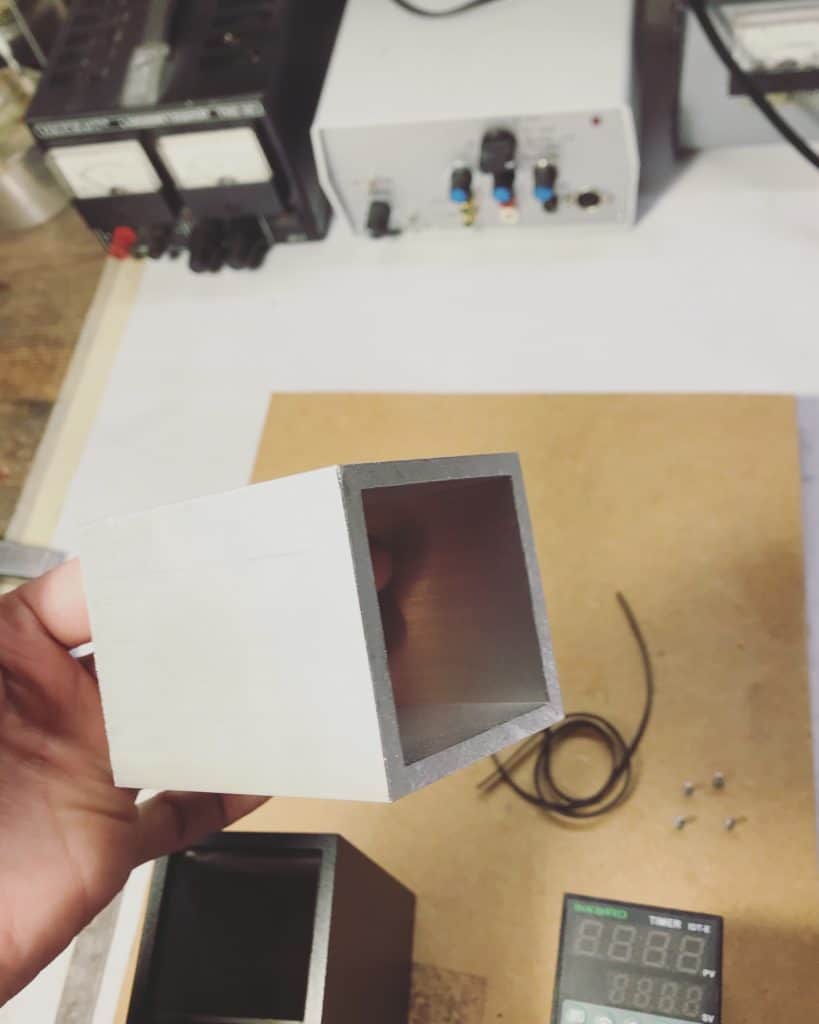
aluminum profile 60x60x5 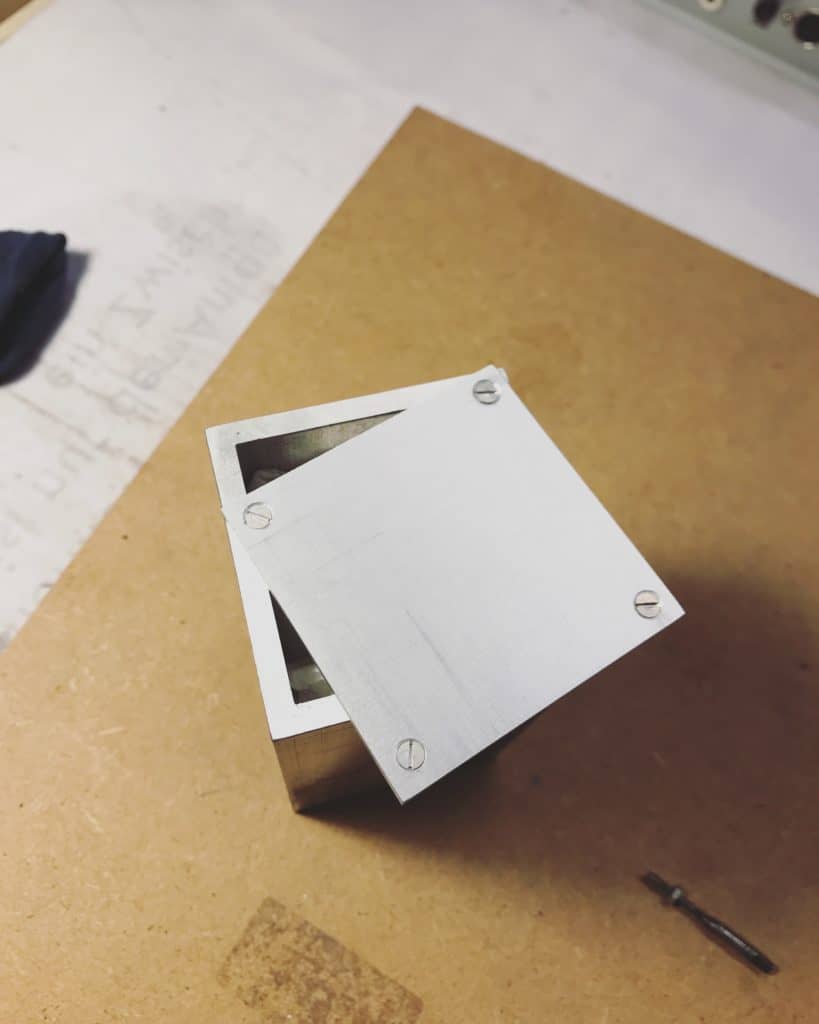
housing cover test 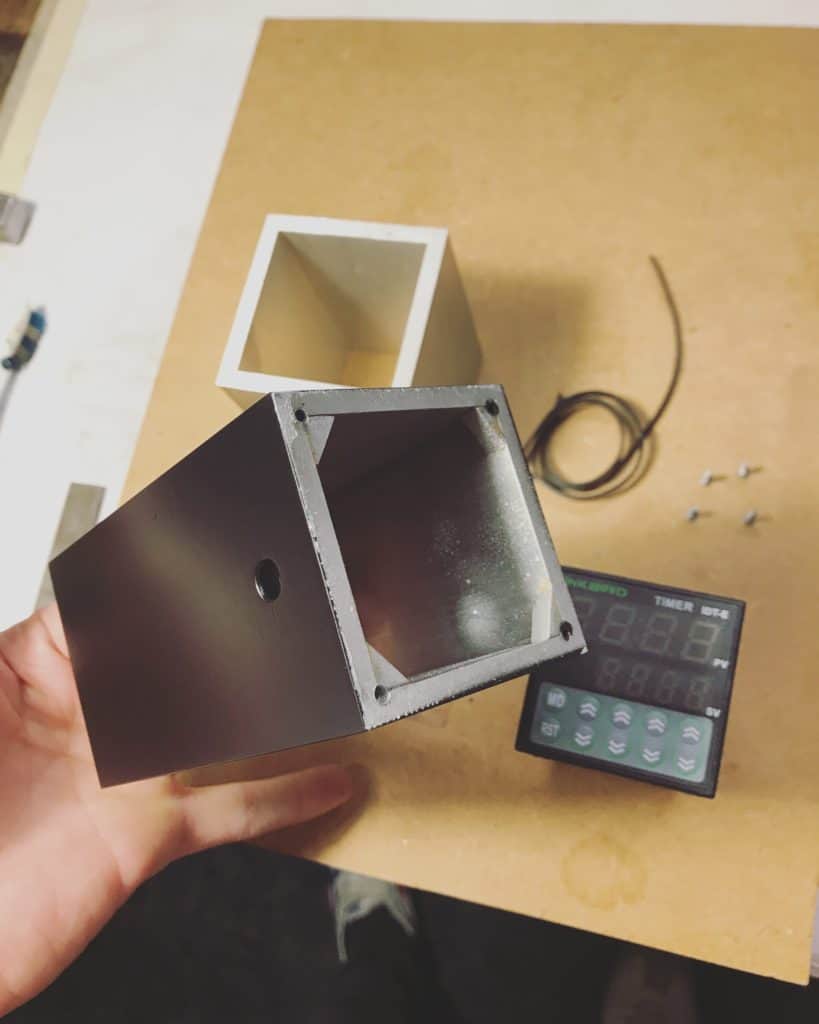
spray-coated housing 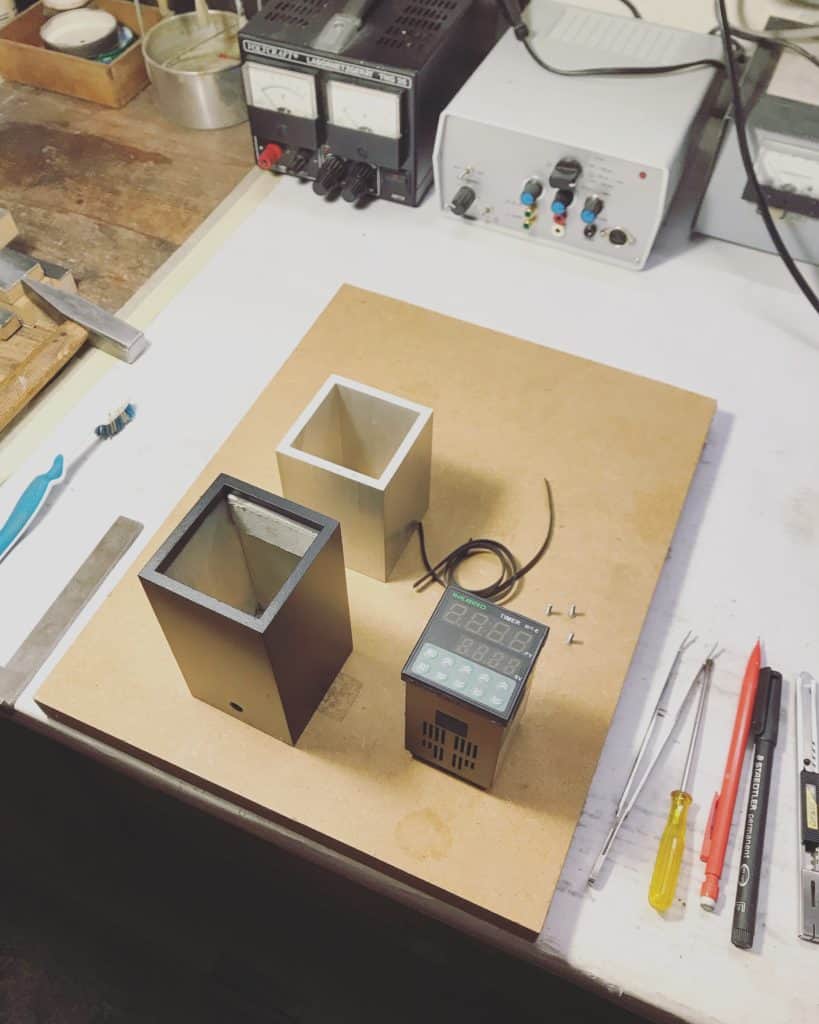
housing overview 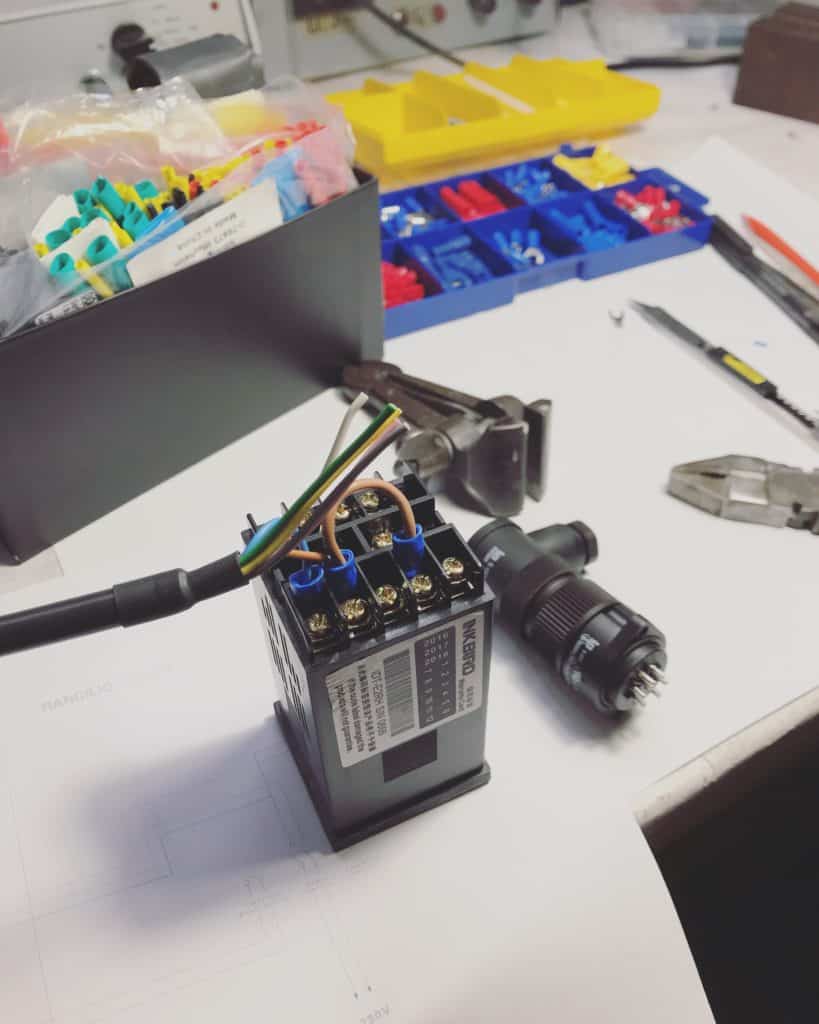
timer wiring 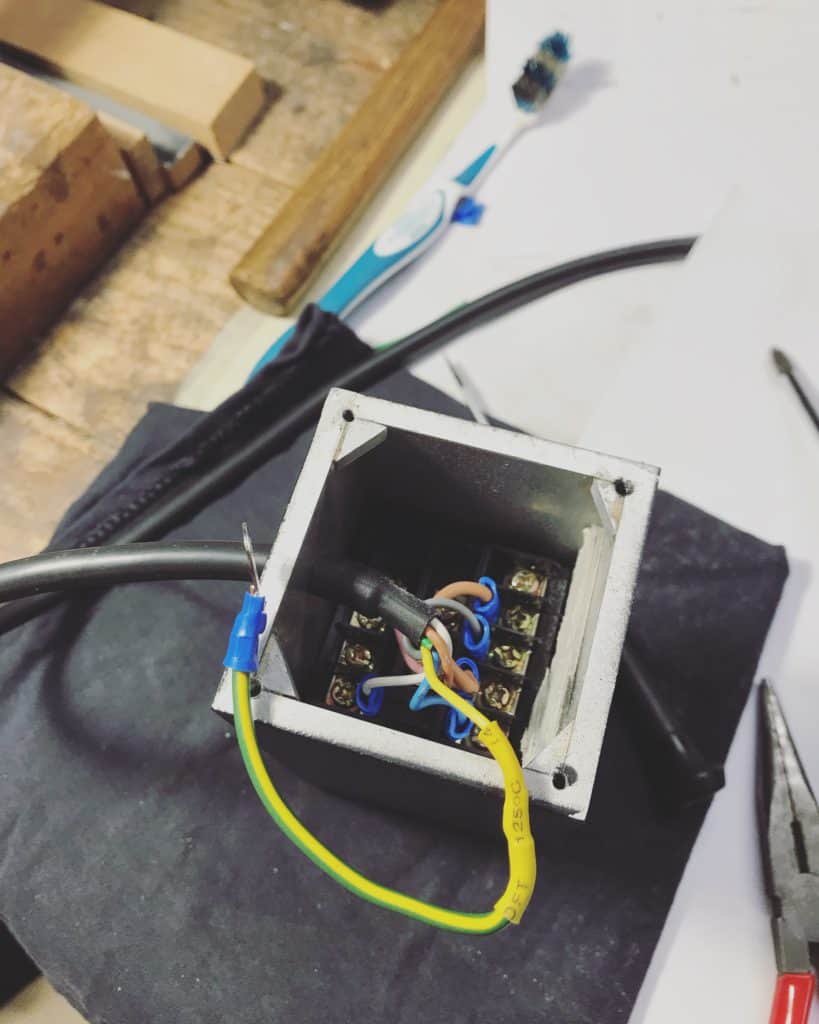
housing backside 
timer fitting 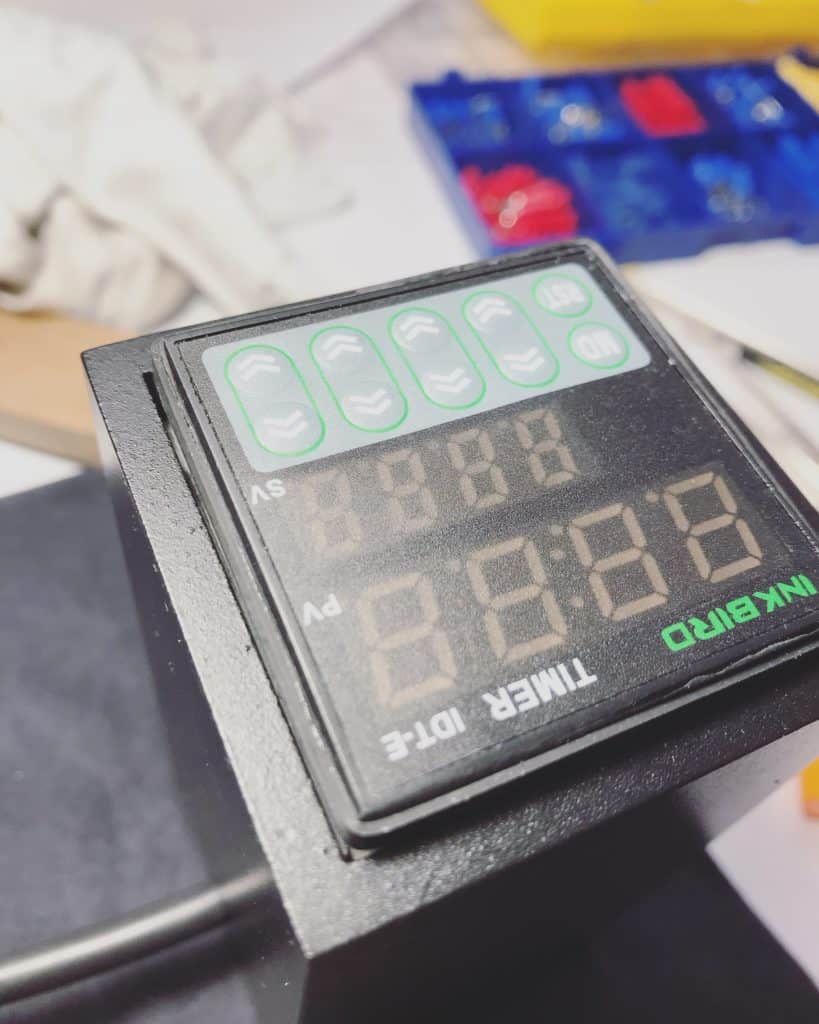
sealing up with rubber 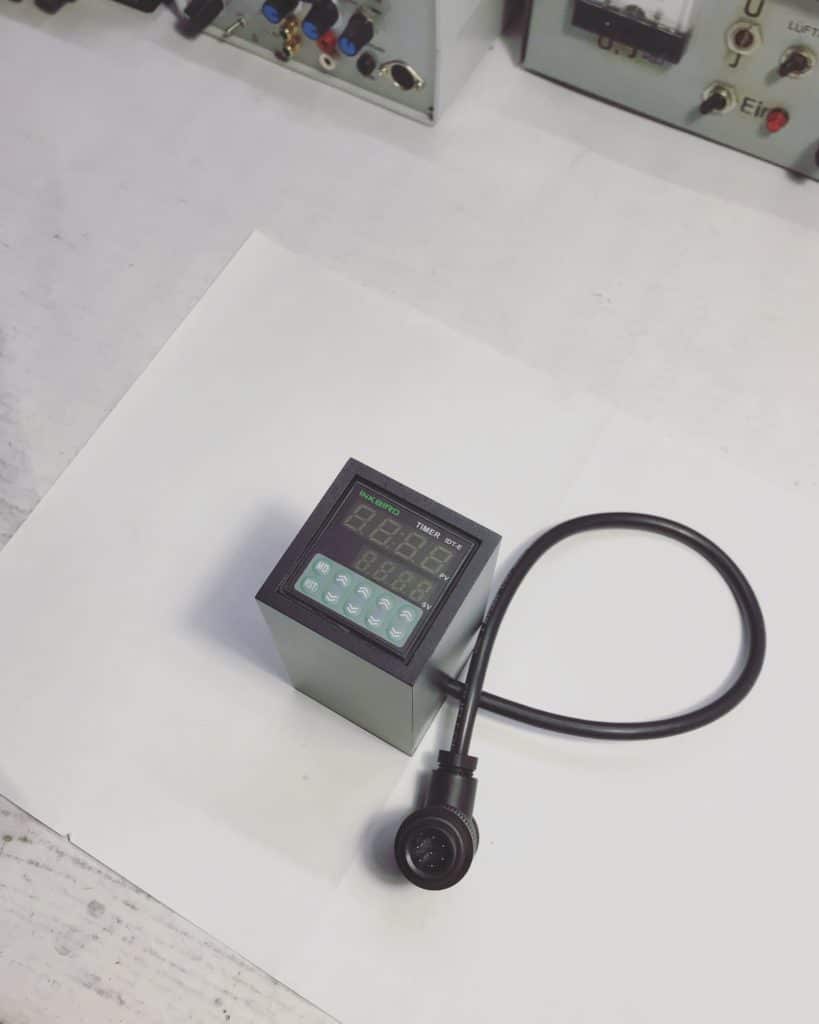
final time module 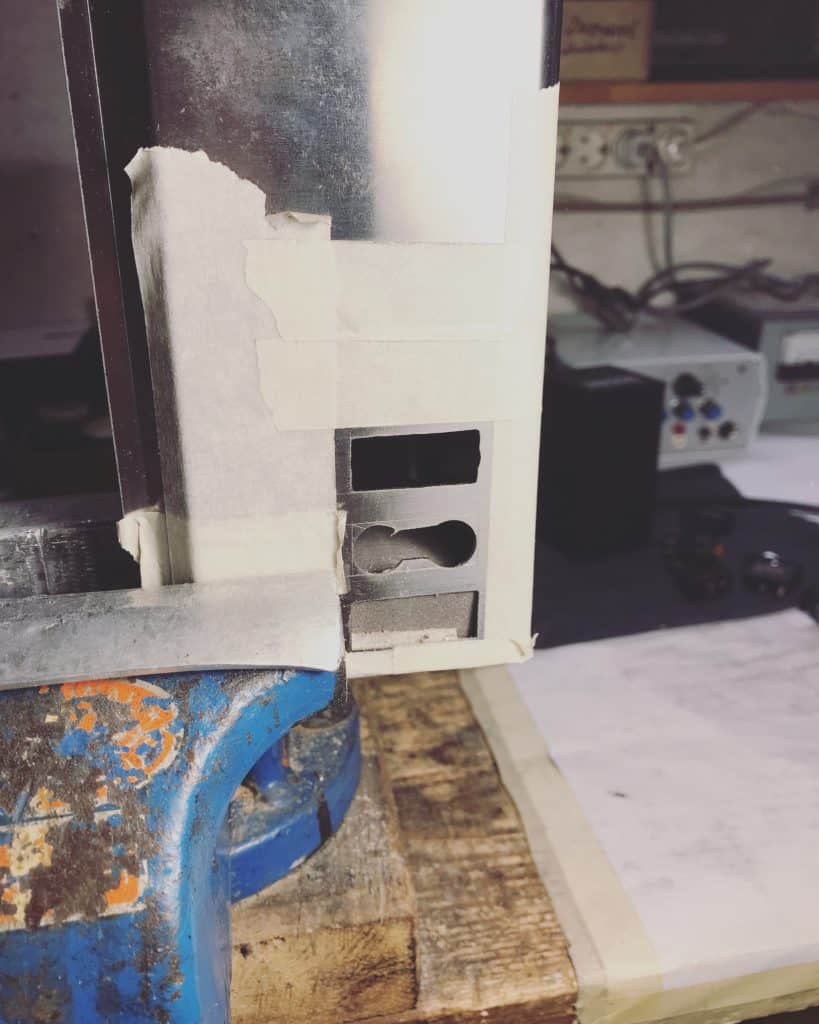
switch integration 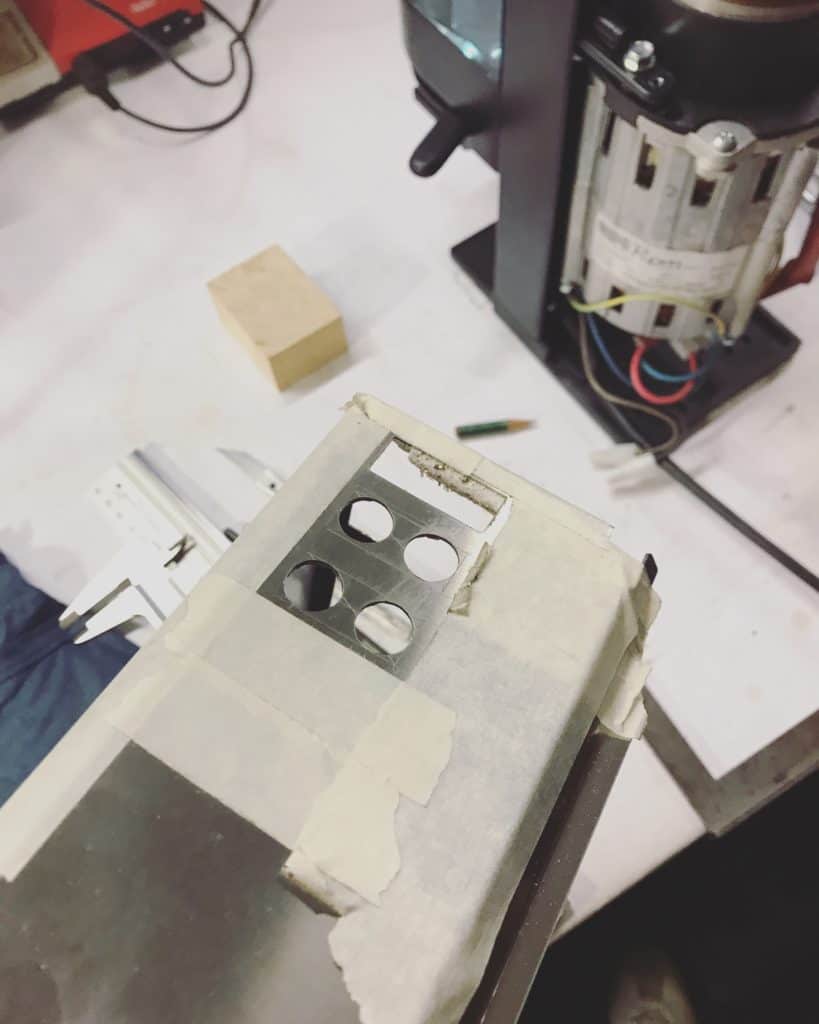
step drilling 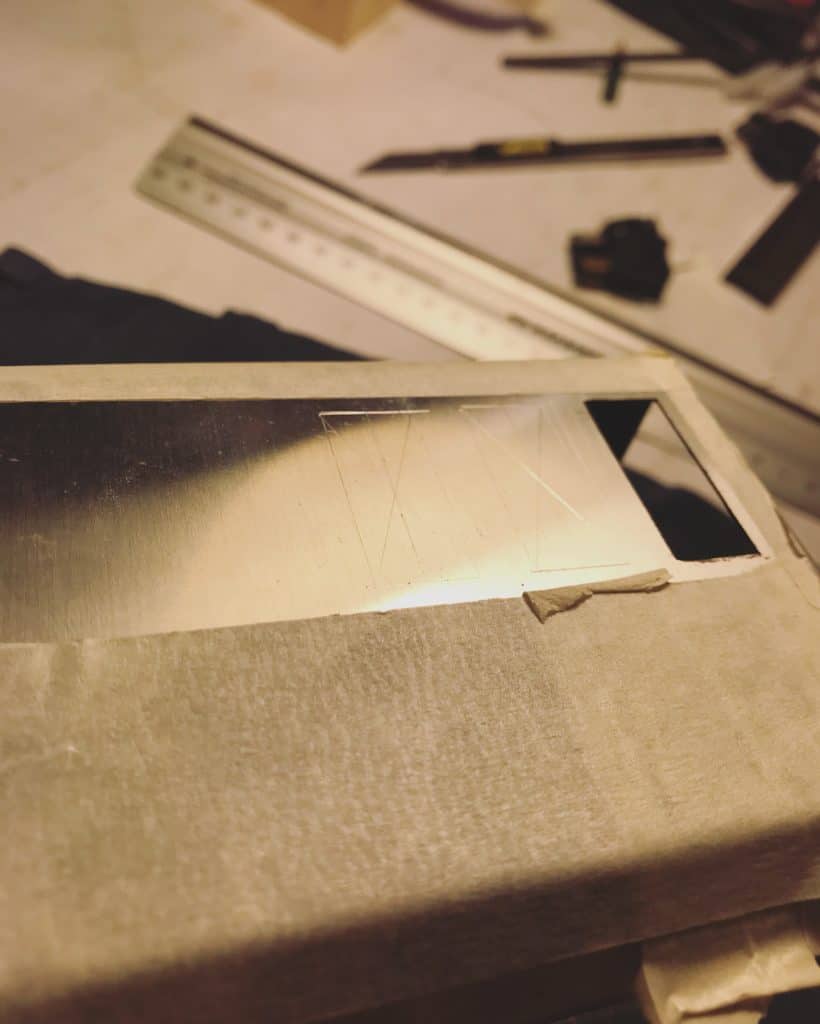
final filing 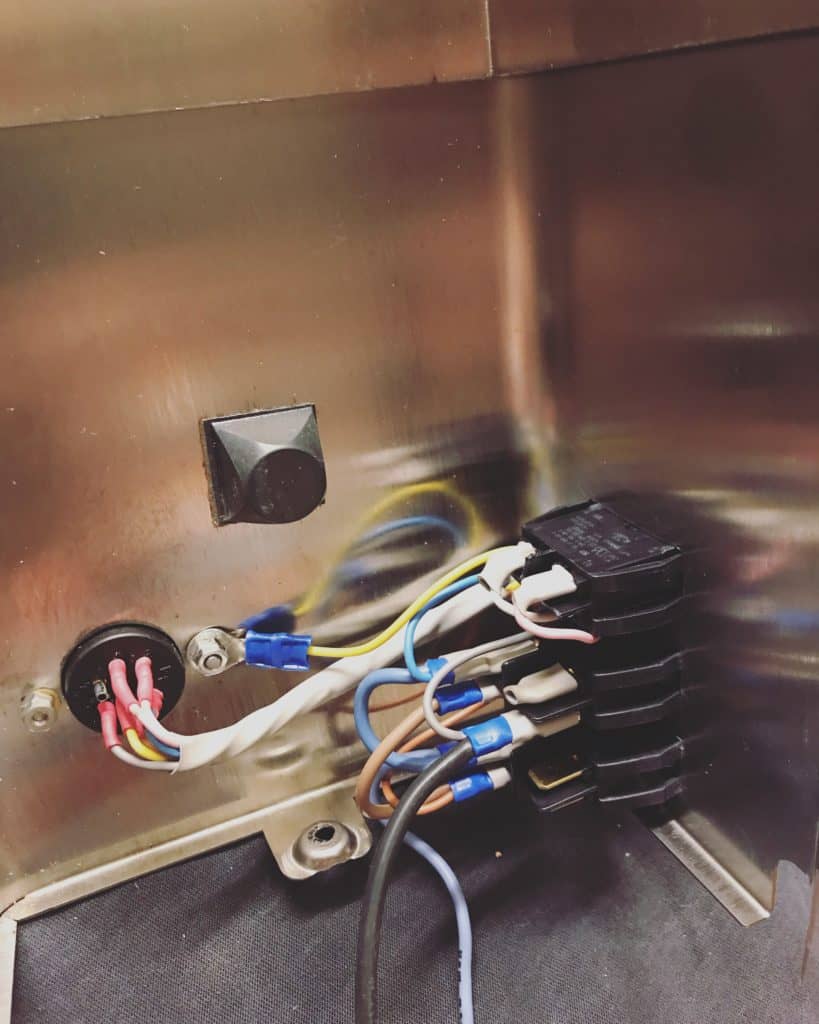
wiring switches 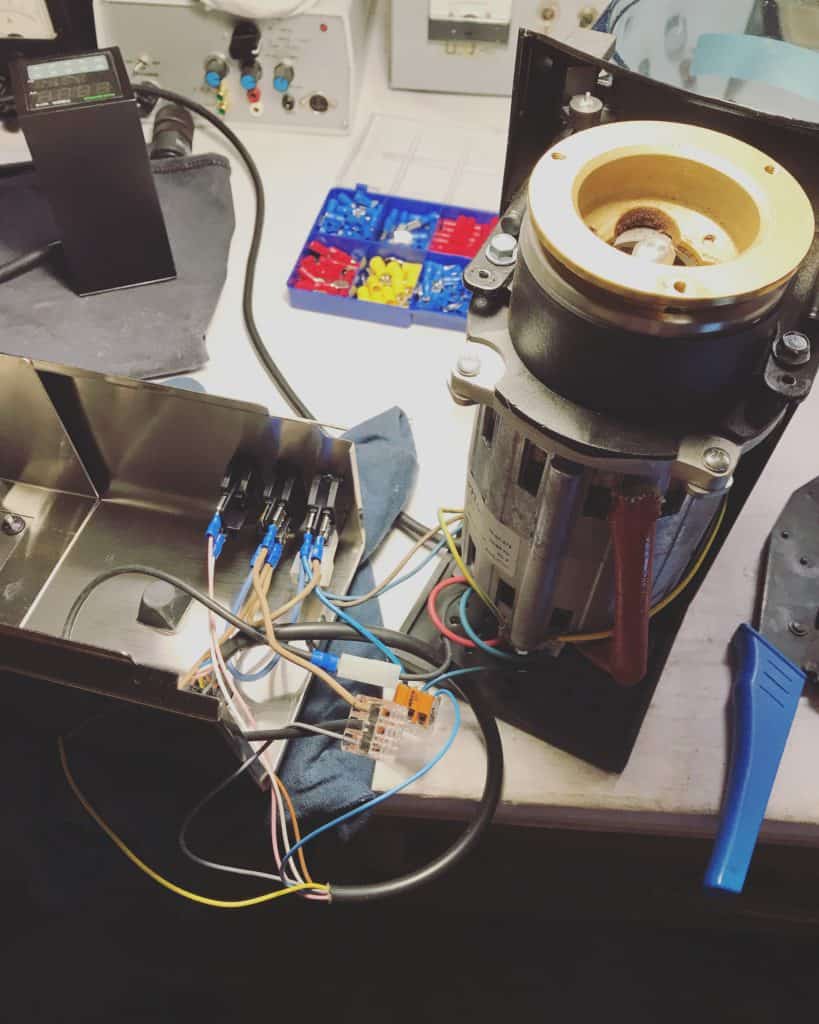
wiring switches 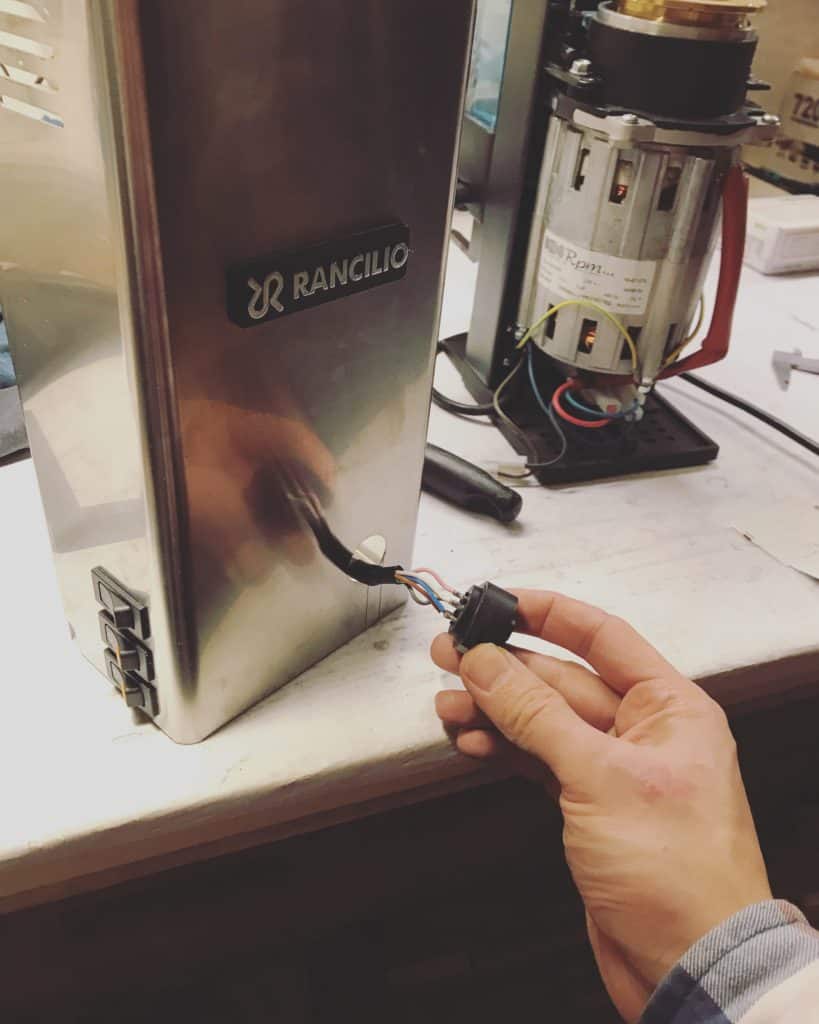
socket mounting 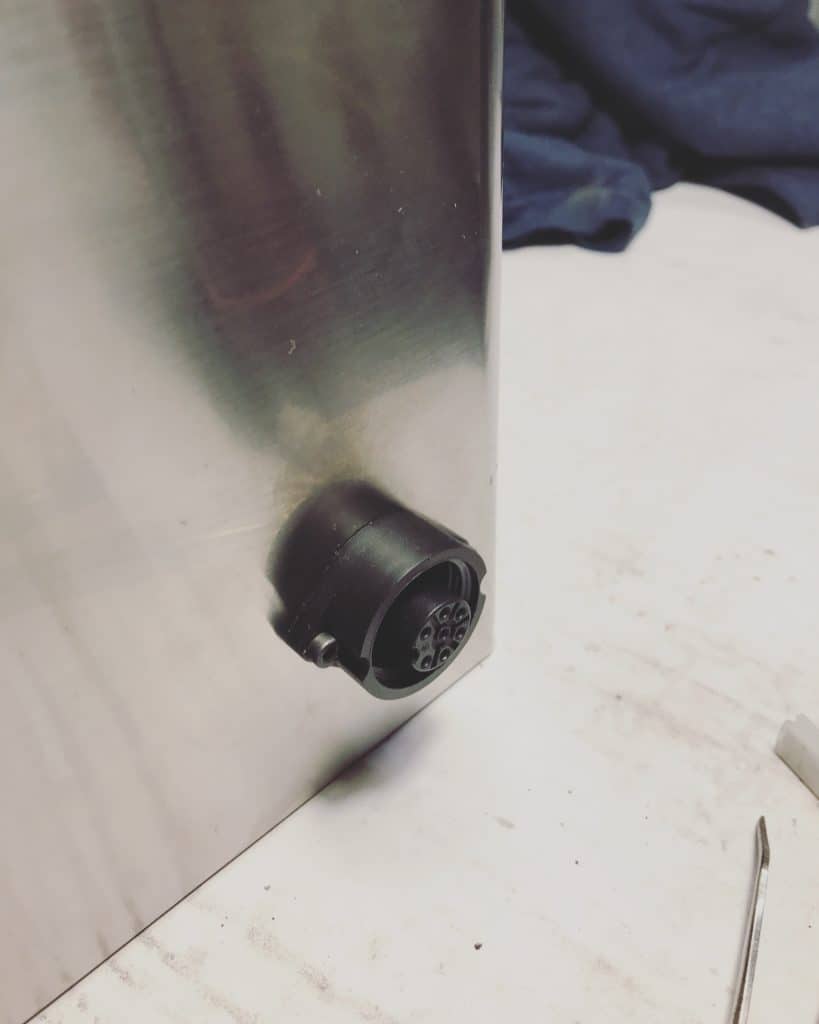
done!

1 Kommentar
Kommentieren →Can I buy?